Tuesday, July 12, 2011

Nutrísimo


Because after a season full of patriotic holidays and fatty foods, I need a break. Nutrísimo is a vegetarian take out/delivery joint with nutrient rich meals and snacks, and they're pretty yummy. Above is a big alfajor (7 pesos), with an amazing strawberry filling, that's covered in a thin layer of white chocolate and a sprinkling of semillas de lino (I forget what they're called in English but they're super good for you). And below is half of a serving of leek and tofu pie (14 pesos) and a piece of soy milanesa roll (30 pesos), which comes with brown rice and beets.


They also sell whole grain pastas, risottos, waffles, medialunas, empanadas, and some amazing looking multigrain bread that I've been meaning to try.

Nutísimo
9 de Julio 1451
Rosario

Monday, June 27, 2011

Alfajores Santafesinos: Take 2


Yep, this was my second attempt at making the official alfajor of Santa Fe province. The first attempt, well, it taught me a lesson on meringues. I crossed a lot of lines with this recipe. First, I made a completely Argentine concoction, which is pretty much in opposition with almost all of my posted recipes. I usually try to replicate the tastes of home with what is available to us down here. Second, I had to get over my fear of raw eggs -- which, it turns out, isn't too hard when they taste like fresh marshmallow. So, thanks to Katie's challenge and encouragement, here I am embracing a taste of our current homeland.

The defining characteristics of alfajores santafesinos are (thick!) layers of dulce de leche sandwiched between thin crispy cookies and a sugary, egg white glaze that slightly crackles on your tongue as it dissolves. As a vegetarian, my challenge was creating a thin, crispy cookie without using lard. In my first attempt, I followed a recipe that called for melted butter - these shrank up hopelessly in the oven and weren't at all flaky.

The baked cookie inside of the cookie cutter - Just look at that shrinkage!
So, I asked around for suggestions - but nobody had any clue. Seriously, no one I know in Santa Fe could help me out with a recipe. But everyone could describe the perfect alfajor, and warned me not to screw it up. Hmmm. No pressure. I did, however, get a Sandra Lee-like suggestion to use pre-made empanada dough instead and, in my desperation, I did so. I will get to that later.

In the end I settled on this recipe from La Majuluta, and swapped out lard for an equal amount of vegetable shortening. Also, I translated it all by myself so there's another big girl victory. I tried it her way (still shrinkage problems), but also switched it up with my knowledge of pie crust makings and that worked way better for me.
Top: Pre-made dough, Bottom Left: Made with cold shortening, Bottom Right: Made with melted shortening 
Cookies:
300 grams all-purpose flour
1 pinch of salt (that's a direct translation, so get to pinching)
60 grams vegetable shortening
2 egg yolks
100 ml warm water (do you know that American measuring cups actually list ml? nice.)
1 Tablespoon booze (some recipes call for anise liquor, but I used vanilla vodka)
A few drops of lemon extract (which I didn't use, but suggest)

Filling:
400 grams dulce de leche repostero (specifically for baking)


Glaze:
200 grams sugar (superfine if you've got it)
80 ml water
1 egg white, room temperature

Whisk together flour and salt. Use a pastry cutter or two knives to blend in the chilled shortening (see, here's my pie crust expertise at work). Stir in the yolks, water, booze, and extract to form a crumbly dough - try not to over mix, just get it to stick together. Form a ball and flatten slightly, to create a disc shape (to make rolling out easier). If you have limited counter space, you may want to divide the dough into two discs. Cover and put in the freezer for at least 20 minutes, or until you're ready to roll it out (if you leave it longer, let it sit out for 10-15 minutes before rolling). Roll out on a lightly floured surface to 1.5 mm thickness (thinness!). Use a 7 or 8 cm cookie cutter to cut into circles and prick them with a fork to prevent puffing (I got 39 cookies out of it, after re-rolling the scraps.) Bake at 200C/400F for 10 minutes, or until they begin to turn golden. Let cool. Assemble a three-cookie-layer sandwich using nearly one full tablespoon of dulce de leche between each layer.

Make the glaze by bringing the sugar and water to a boil until the mixture reaches 112C - I got a candy thermometer to ensure success this time around. Start beating the egg white shortly before the sugar hits 112 (beat on low speed for maybe 1 minute). Let the syrup cool briefly, like 20-30 seconds or when the needle on the thermometer starts to drop. Slowly add it to the egg while you continue to beat it (no one wants to be defeated). It shouldn't take more than 30 seconds to combine them and get a nice shiny white glaze - like thin marshmallow fluff. Use a pastry brush to immediately brush the sandwiches with the glaze - this is super tricky and I found it impossible to get all of the sides covered, but work fast and at least spread a thin layer on top. Let them drip and dry (which takes about 2-3 hours) on a cooling rack.

Immediately after adding the glaze
Now, as I mentioned above, you can use pre-made empanada dough for the cookies. I tried it with La Saltena's small rounds (8cm) - poking them and baking for 10 minutes. This, however, resulted in a giant alfajor that disturbingly resembled a combination of the Stay Puft Marshmallow Man and a BK Stacker, and was too chewy to qualify as a cookie.

Alfajor Sandraleesino
I'm glad that I added a classic Argentine dessert to my recipe box, and I'm especially glad that I wrote it out in English - that's one less hurdle for the next round.


For more delicious alfajor recipes from all over Argentina, please stop by these blogs!

Alfajores Marplatenses: Seashells and Sunflowers
Alfajores Cordobeses: From Argentina to the Netherlands, For Love!
Alfajores Mendocinos: From Argentina With Love
Alfajores de Maizena: Ana Travels
Alfajores Salteños: Buenos Aires Foodies, Bee My Chef


Friday, June 17, 2011

¡¿Cabina Fotográfica?!


Well, we couldn't very well call it a photobooth, now could we? Cotillón (party props and attire - you know, funny hats and such) is a very important part of Argentine weddings and parties. You usually bust it out on the dance floor around 3am. But what if your party doesn't include dancing? Enter the photobooth: so popular that it's almost cliché at home, but soon to be all the rage here.

What do you need? 
1) Any cotillón that you have stolen from weddings
2) Funny mustaches and glasses on sticks
3) Additional props, as needed (a feather boa is pretty much a necessity and a small blackboard is nice)
4) An empty picture frame


5) A sign that says "cabina fotográfica"- you know, since it's such an odd concept


6) I would also say that you need some sort of background but large groups are likely to rush the booth and you would need a wall full of fabric for that so don't beat yourself up over it.


Links to printable mustaches:

7) A puppy to try your props on


Links to printable glasses and more:
Photobooth Props (play with the size)

I traced the staches onto black goma eva and the glasses/bow tie/lips onto card stock paper, then cut them out and super glued them onto some kebob sticks.

Here are some of the resulting photos (but not the professional ones - those I'll post later):


Wednesday, May 25, 2011

Pastelitos!


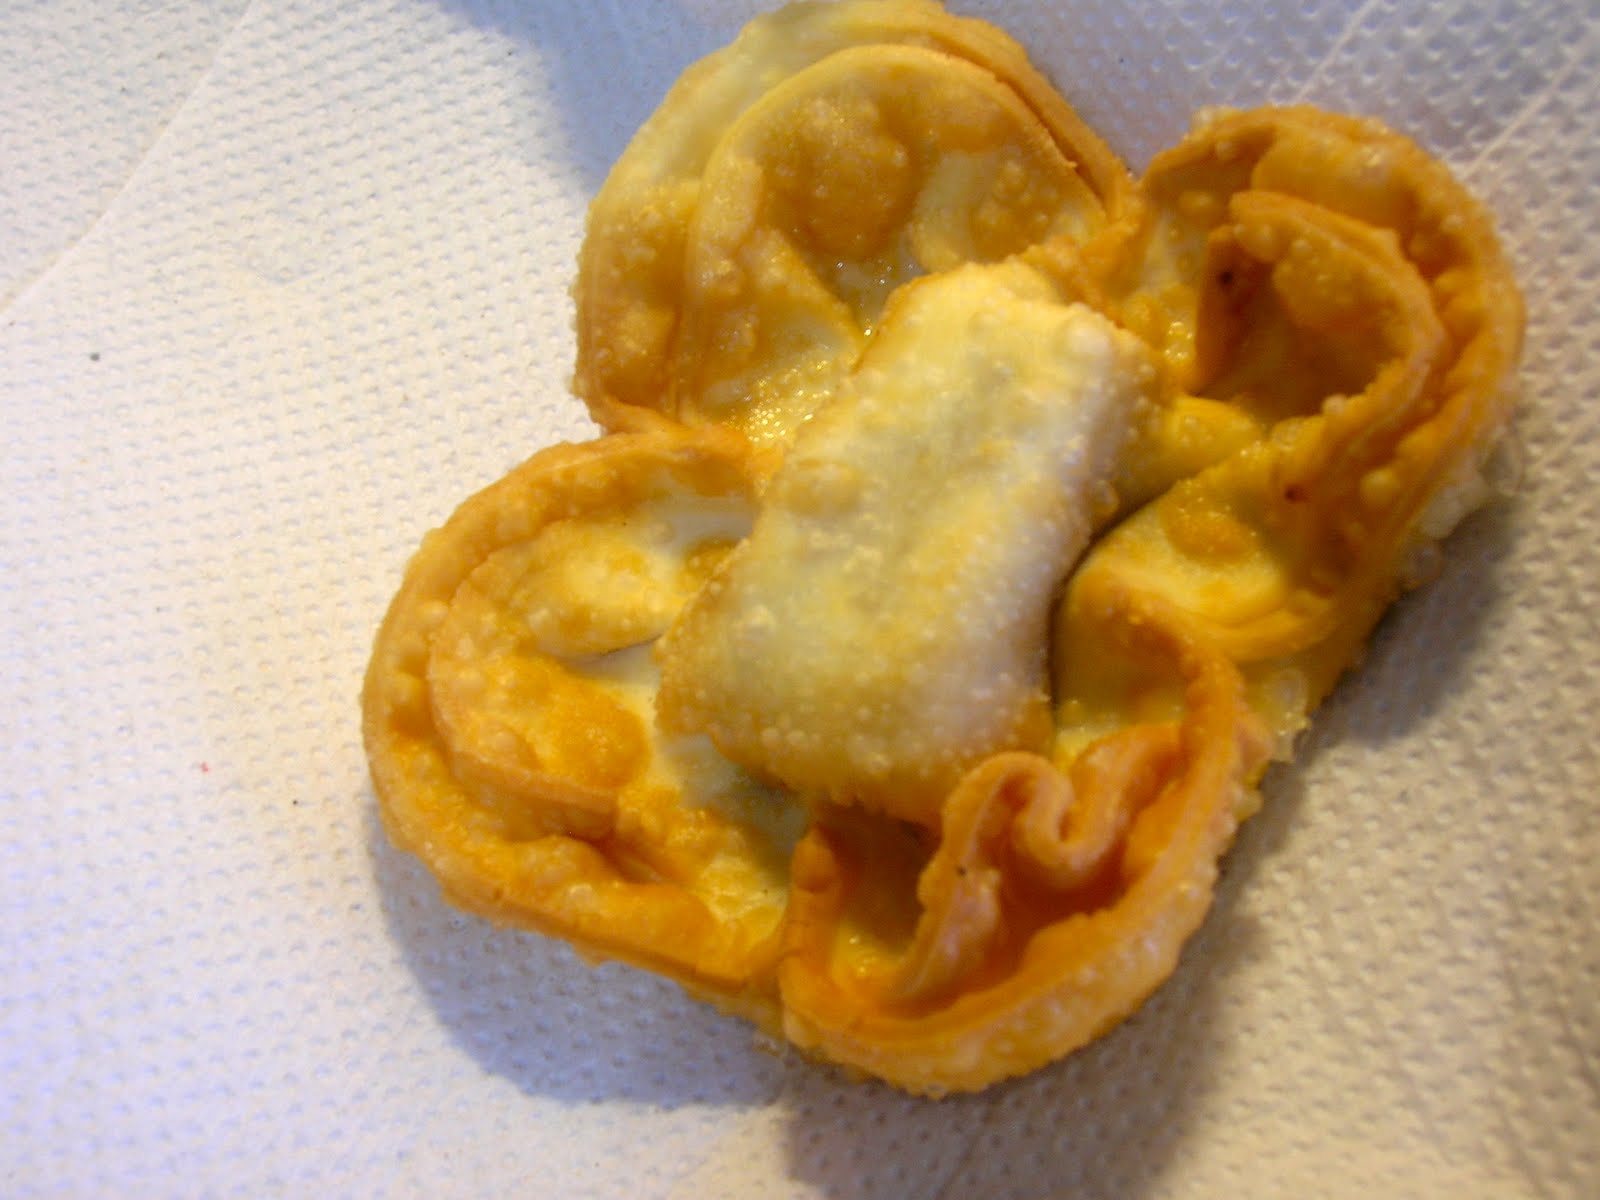
In celebration of 25 de Mayo this year, we fried dessert. Sure, last year it was soup. This year it was serious. Last weekend at my father in law's birthday party we ate the most delicious pastelitos, aka warm, fried dough sprinkled with sugar and oozing with something sweet. Here's a photo of them in all their fried glory by Diego Llarrull.

Photo by Diego Llarrull
A post on From Argentina With Love convinced me that these are quite simple to make...just in time for 25 de Mayo! Instead of a recipe, I'm just going to say that we used pre-made empanada dough rounds (Yuli), some filling, and some sugar, along with oil for frying and almibar. To be more specific, we placed a square of filling - either dulce de membrillo, chocolate, or a spoonful of dulce de leche - in the center of one dough round, wet the area around the filling and then topped with another dough round, sealing the dough around the filling. 


To make this lovely flower shape, place your forefingers under the dough on opposite sides of the circle, pull up slightly and pinch the dough together using your middle finger and thumb. Repeat on the other side of the circle. We didn't moisten and and seal the edges so that we could have more fried dough surface area. However, it is advisable to do so if you use dulce de leche as a filling.


Dulce de membrillo is a traditional filling for pastelitos.


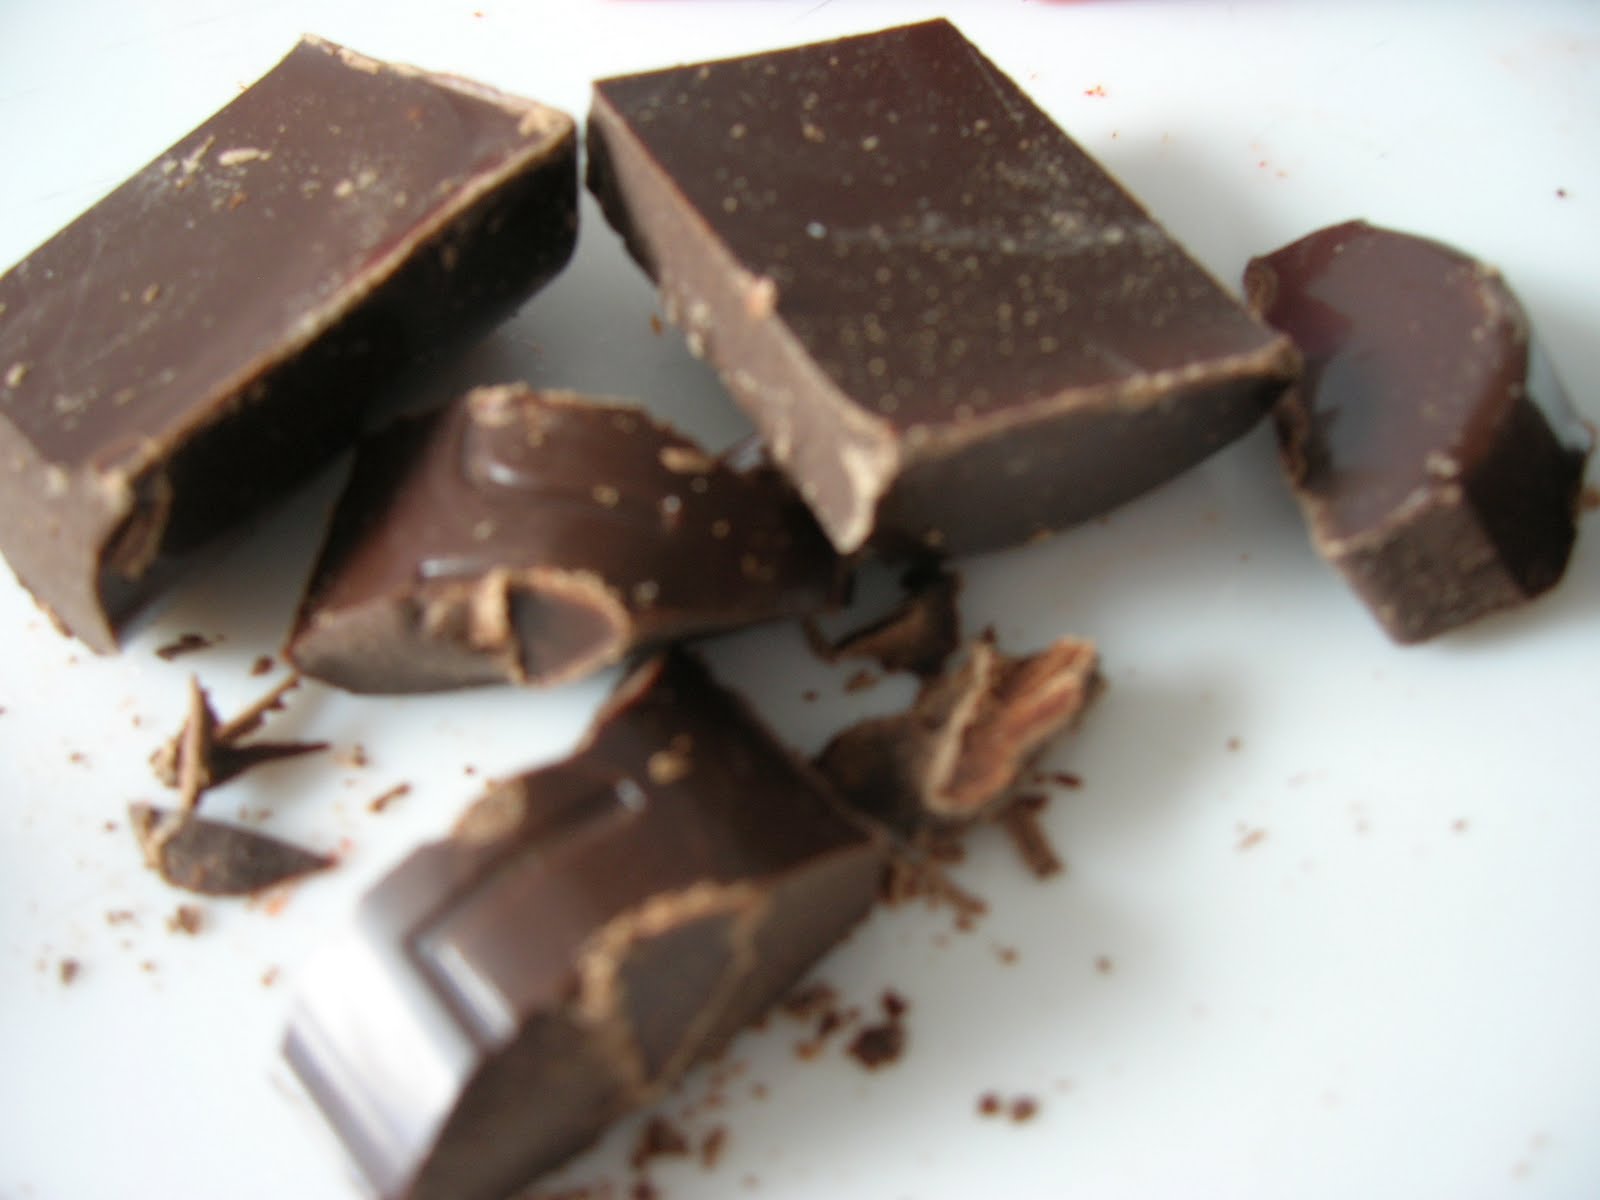
Chocolate is not.

This is not a science project, it's a jar of homemade (by the afore mentioned father in law - he's a real Renaissance man!) dulce de membrillo. The syrup (which results from boiling membrillo with sugar) is called almibar - we'll use this later.


So we take our little dough creations...whoops, some membrillo is poking out. But, no worries.


And we fry them in some hot oil (over medium heat) - this is sunflower oil.


They take about 1-2 minutes each to turn golden, and then should be removed to a paper towel where they will be immediately drizzled with a spoonful of almibar or sprinkled with sugar, or both!


Not long afterwards (because they should be eaten warm) they will be taken to the table to be consumed immediately with patriotic gusto.


Oooh, melty chocolate. (I'm warning you, this is not a traditional filling and may cause funny looks from locals)


Ooozing dulce de leche (also not traditional for pastelitos, watch yourselves)


Here's a familiar taste. Happy 25 de Mayo, Argentina. Sorry if I have displayed unpatriotic behavior by changing up the fillings, but they're delicious. 

Monday, May 16, 2011

Favorite Chocolate Cupcakes and Dulce de Leche Frosting


I've been baking mucho lately. I should probably work more and bake less, but that is no fun. I've found two excellent chocolate cupcake recipes. One is Smitten Kitchen's flourless Chocolate Soufflé Cupcakes. These are so rich that they don't need frosting but they do need something to fill the little sunken center on top, so I plopped in a scoop of ice cream. The second is a well-traveled Cooks Illustrated recipe for Ultimate Chocolate Cupcakes, which I found the following half-recipe for on Cookie Madness. This is now my go-to recipe for chocolate cupcakes. I guess that's why they're the ultimate.

My Favorite Chocolate Cupcakes
Ganache Filling:
  • 1 oz / 28 grams bittersweet chocolate
  • 2 Tablespoons heavy cream
  • 1/2 Tablespoon powdered sugar
Put all ingredients into a microwave safe bowl. Heat 10-30 seconds, until mixture is warm. Whisk until smooth. Refrigerate until just chilled, no more than 30 minutes.

Cupcakes:
  • 1 1/2 oz / 42 grams bittersweet chocolate
  • 2 1/2 Tablespoons / 15 grams cocoa powder
  • 1/4 cup plus 2 Tablespoons hot coffee
  • 1/4 cup plus 2 Tablespoons / 58 grams bread flour
  • 1/4 cup plus 2 Tablespoons / 72 grams sugar
  • 1/4 teaspoon salt
  • 1/4 teaspoon baking soda
  • 3 Tablespoons vegetable oil
  • 1 large egg, room temp
  • 1 teaspoon vinegar
  • 1/2 teaspoon vanilla extract
Combine chocolate, cocoa, and hot coffee in a mixing bowl. Whisk until smooth and refrigerate for 15 minutes. In a separate bowl, mix flour, sugar, salt, and baking soda. Whisk oil, eggs, vinegar, and vanilla into the cooled chocolate mixture until smooth, then stir in flour mixture. Divide batter between 6 baking cups and place 1 rounded spoon of ganache on top of each cupcake. Bake at 350F/180C for 17-19 minutes, until just firm to the touch. 

The Ultimate recipe includes a creamy chocolate frosting recipe that I didn't make because I'm afraid of eating raw eggs. Instead, I topped with dulce de leche cream cheese frosting. Though, I would also suggest a cream-based mocha frosting or a perhaps even a marshmallow frosting, if you're into that sort of thing.


Dulce de Leche Frosting
  • 56 grams / 1/2 stick of butter, softened
  • 113 grams / 4 ounces cream cheese, softened
  • 3 ounces (this is half of 3/4 cup) dulce de leche
  • 1/8 teaspoon salt
  • 1 1/2 - 2 cups powdered sugar
Beat cream cheese on medium speed for about 30 seconds, until very soft. Scrape down sides of bowl and add butter and dulce de leche. Beat on medium until well incorporated. Add the salt and powdered sugar. Beat on medium for about 3 minutes, until fluffy and lighter in color. I noticed that it wasn't quite thick enough for frosting so I continued to add powdered sugar until I got the right consistency. This makes enough for about 12 cupcakes. The frosting also went well with vanilla cupcakes with chocolate ganache centers.

Friday, April 29, 2011

Peanut Butter Cupcakes with Nutella Frosting


According to a jar of amazingly delicious peanut butter that we were gifted by a friend who had just returned from Cordoba (the province right next to ours), Hernando, Cordoba is the nation's peanut capital. If you ever see a jar of "La Campiña" you should grab it, and a spoon, and go. to. town.


This jar of peanuty goodness inspired me to bake peanut butter cupcakes. And a jar of Nutella inspired the frosting for such. Sometimes, brilliance awaits you in your cupboard. The peanut flavor of the cupcakes is perfect, almost (not quite but almost) overwhelming the Nutella. And they're a bit more dense than a light and fluffy cake. I busted out a spoon to finish one off. I would suggest making these as mini cupcakes - thus having a more equal ratio of peanut to Nutella flavor. Or, making them as smaller cupcakes - I filled about 1/2 - 2/3 full, so this could be reduced.


Another way to boost Nutella flavor, while cutting into the density of the cake, would be to scoop out a bit of the middle and fill with Nutella. Or double the amount of frosting that I made. Whatever your poison. Or cupcake pan size.

Peanut Butter Cupcakes
from Liv Life
  • 1 1/4 cup flour
  • 1 1/4 teaspoon baking powder
  • 1/4 teaspoon salt
  • 2/3 cup packed brown sugar 
  • 1/4 cup peanut butter
  • 42 grams / 3 tablespoons butter
  • 1 teaspoon vanilla
  • 1 large egg
  • 1 large egg white
  • 1/4 cup milk
Whisk together flour, baking powder, and salt - set aside. Beat brown sugar*, peanut butter, butter, and vanilla until blended (4-5 minutes). Add the egg and egg white, beat until combined. Add the flour mixture in a few additions, alternating with the milk - beginning and ending with the flour. Mix until combined. 

Spoon batter into 10-12 muffin cups (I would say to aim for 12). Bake at 180C/350F for 20 minutes or until a tester comes out clean. 

*I used part (about 1/4 c.) white sugar, as I'm quite stingy with my smuggled-in brown sugar


Nutella Frosting
from Good Life eats (I made half of the recipe, as follows)
  • 85 grams / 3 ounces cream cheese (Finlandia), at room temperature
  • 14 grams / 1 tablespoon butter, at room temperature
  • 1/4 cup Nutella
  • 1 3/4 - 2 cups powdered sugar
  • 1 teaspoon vanilla
Cream butter and cream cheese. Add Nutella and vanilla and continue to cream. Slowly incorporate powdered sugar, scraping down the sides of the bowl as necessary. Beat on high until fluffy and smooth.


Wednesday, February 16, 2011

DIY Napa Valley


We didn't want to leave California without spending a day, or at least part of a day, in that famous wine country. At first, it seemed like the easiest thing to do would be to go with a tour company. But after reading some questionable reviews and not wanting to be rushed or get bus sick, we decided that we could perhaps handle it ourselves. It seemed overwhelming and logistically impossible but it turned out to be our favorite Cali day.

We rented a car from whichever rental company was open the latest in our SF neighborhood - it ended up costing $38 (including insurance). The car plus gas wasn't even close to the price that tour companies are charging. We drove out of San Francisco via the Golden Gate Bridge.


We used the AAA Wineries Guide Map (Northern California), which lists all of the Sonoma and Napa Valley wineries and provides information on tour times, tasting rooms, and hours. Our strategy was to select a handful of wineries with tasting rooms that did not require us to call ahead for an appointment, as we didn't want to have to stick to an itinerary. I looked up online reviews to narrow our choices. We picked one winery with a set tour time and headed there first.

The route took us through foggy Sonoma County...


...past lovely countryside...


...and finally we arrived at Clos Pegase, a temple of art and wine.


That's Faribolous by Jean Dubuffet up there... and a couple of Robert Morris pieces below.


The place is basically a fantastic outdoor sculpture garden...
 

...oh, and a vineyard...


...complete with a huge cellar filled with more art and wine. We shared a tasting and took home a bottle of their Reserve Chardonnay.


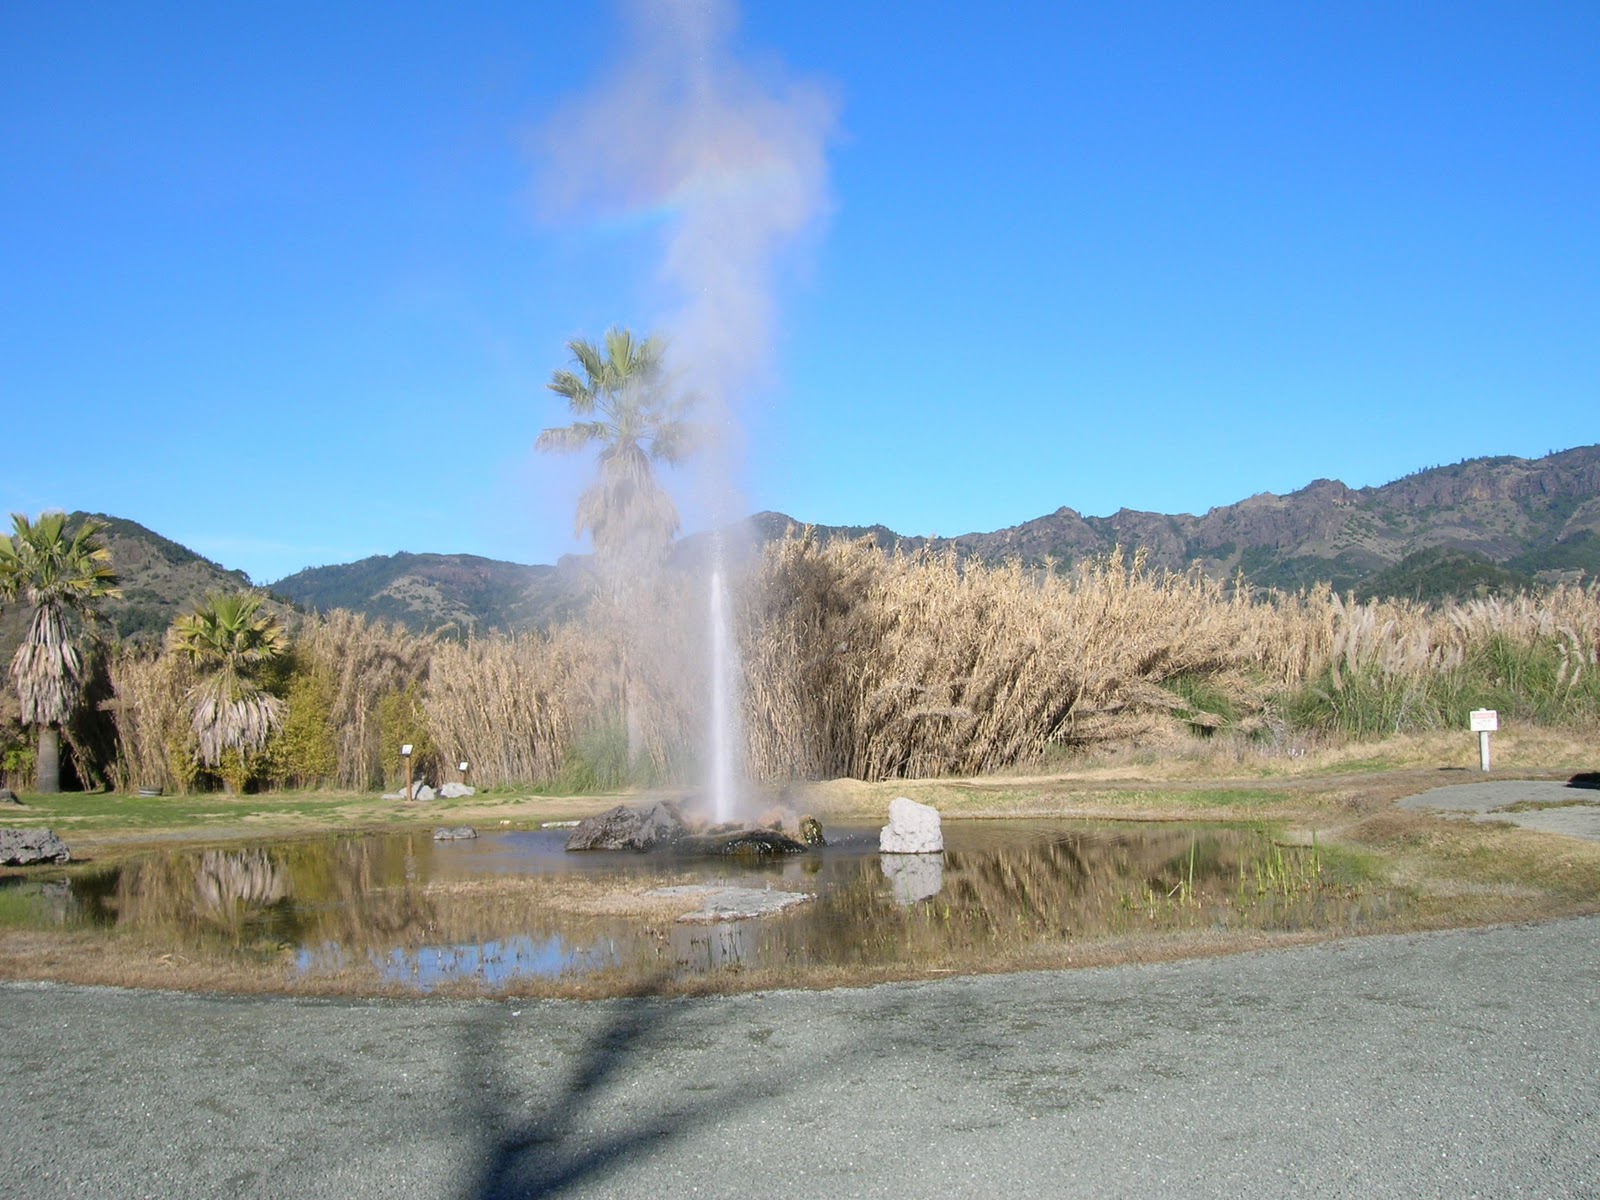
Since we were in Calistoga, we felt like we had to see the geyser there but it was totally lame-o.


Anyway, we had lunch in downtown Calistoga and then wandered on to our next stop, St. Supery Vineyards and Winery.


Another gorgeous spot with tasty wine. We had fun with their genuine and knowledgeable staff in the tasting room and took home a bottle of Moscato. 
 

Finally, we felt that we should visit one of the big boys before closing time, and we were in the mood for champagne. 


We shared a Reserve Tasting at the bar at Domaine Chandon.


 And I giggled all the way home.


We packed a lot into one day - we left SF at 9am and were back by 7pm - but were pleasantly surprised that we were able to take a tour and do three tastings, in addition to sightseeing and a leisurely lunch. We're so glad that we DIY-ed it, as we got a great experience for half the price of a tour. We shared all the tastings so that we could still drive. I was also worried about getting too tipsy at the first place (5 wines) and practiced spitting in the bucket. It felt silly at first but another couple stumbled away after their shared tasting, not knowing if they would make it to another winery that day. Therefore, I say there's no shame in spitting! But, I couldn't bring myself to spit champagne and I left Chandon feeling pretty happy (and apparently hungry, I killed an entire bag of Goldfish crackers on the way home).