Wednesday, May 25, 2011

Pastelitos!


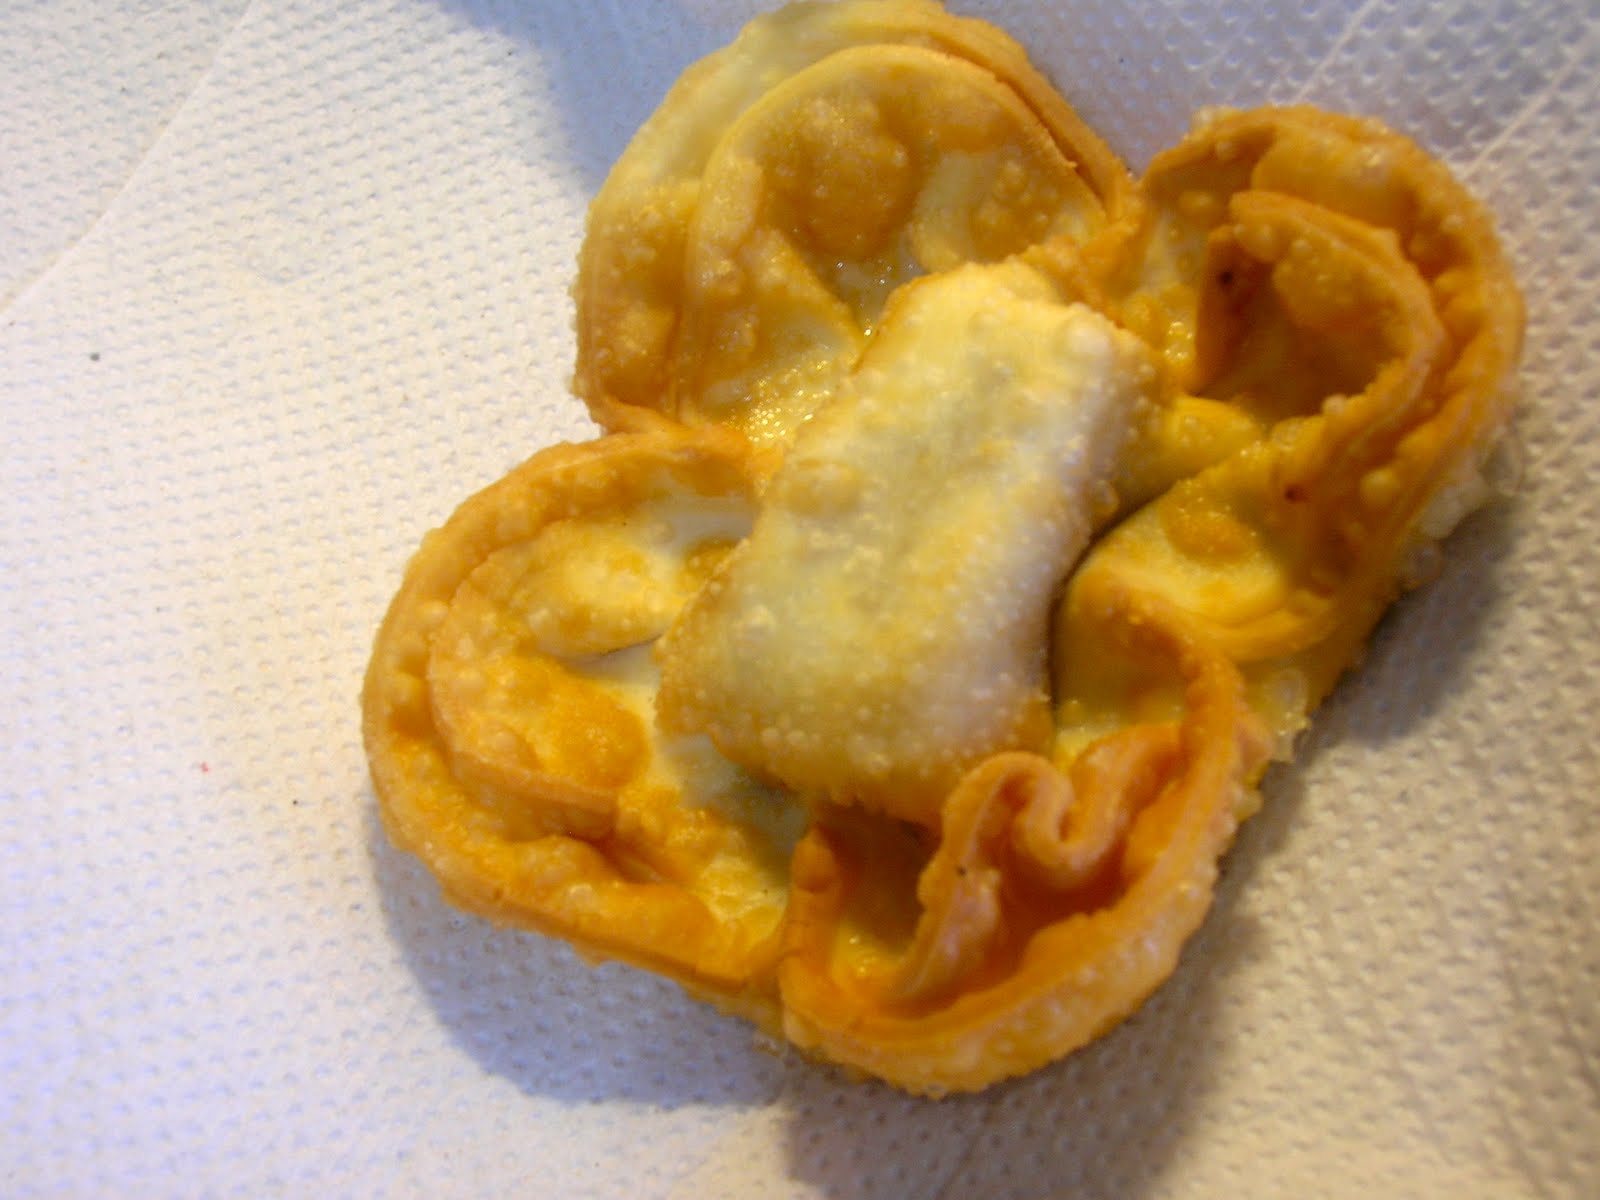
In celebration of 25 de Mayo this year, we fried dessert. Sure, last year it was soup. This year it was serious. Last weekend at my father in law's birthday party we ate the most delicious pastelitos, aka warm, fried dough sprinkled with sugar and oozing with something sweet. Here's a photo of them in all their fried glory by Diego Llarrull.

Photo by Diego Llarrull
A post on From Argentina With Love convinced me that these are quite simple to make...just in time for 25 de Mayo! Instead of a recipe, I'm just going to say that we used pre-made empanada dough rounds (Yuli), some filling, and some sugar, along with oil for frying and almibar. To be more specific, we placed a square of filling - either dulce de membrillo, chocolate, or a spoonful of dulce de leche - in the center of one dough round, wet the area around the filling and then topped with another dough round, sealing the dough around the filling. 


To make this lovely flower shape, place your forefingers under the dough on opposite sides of the circle, pull up slightly and pinch the dough together using your middle finger and thumb. Repeat on the other side of the circle. We didn't moisten and and seal the edges so that we could have more fried dough surface area. However, it is advisable to do so if you use dulce de leche as a filling.


Dulce de membrillo is a traditional filling for pastelitos.


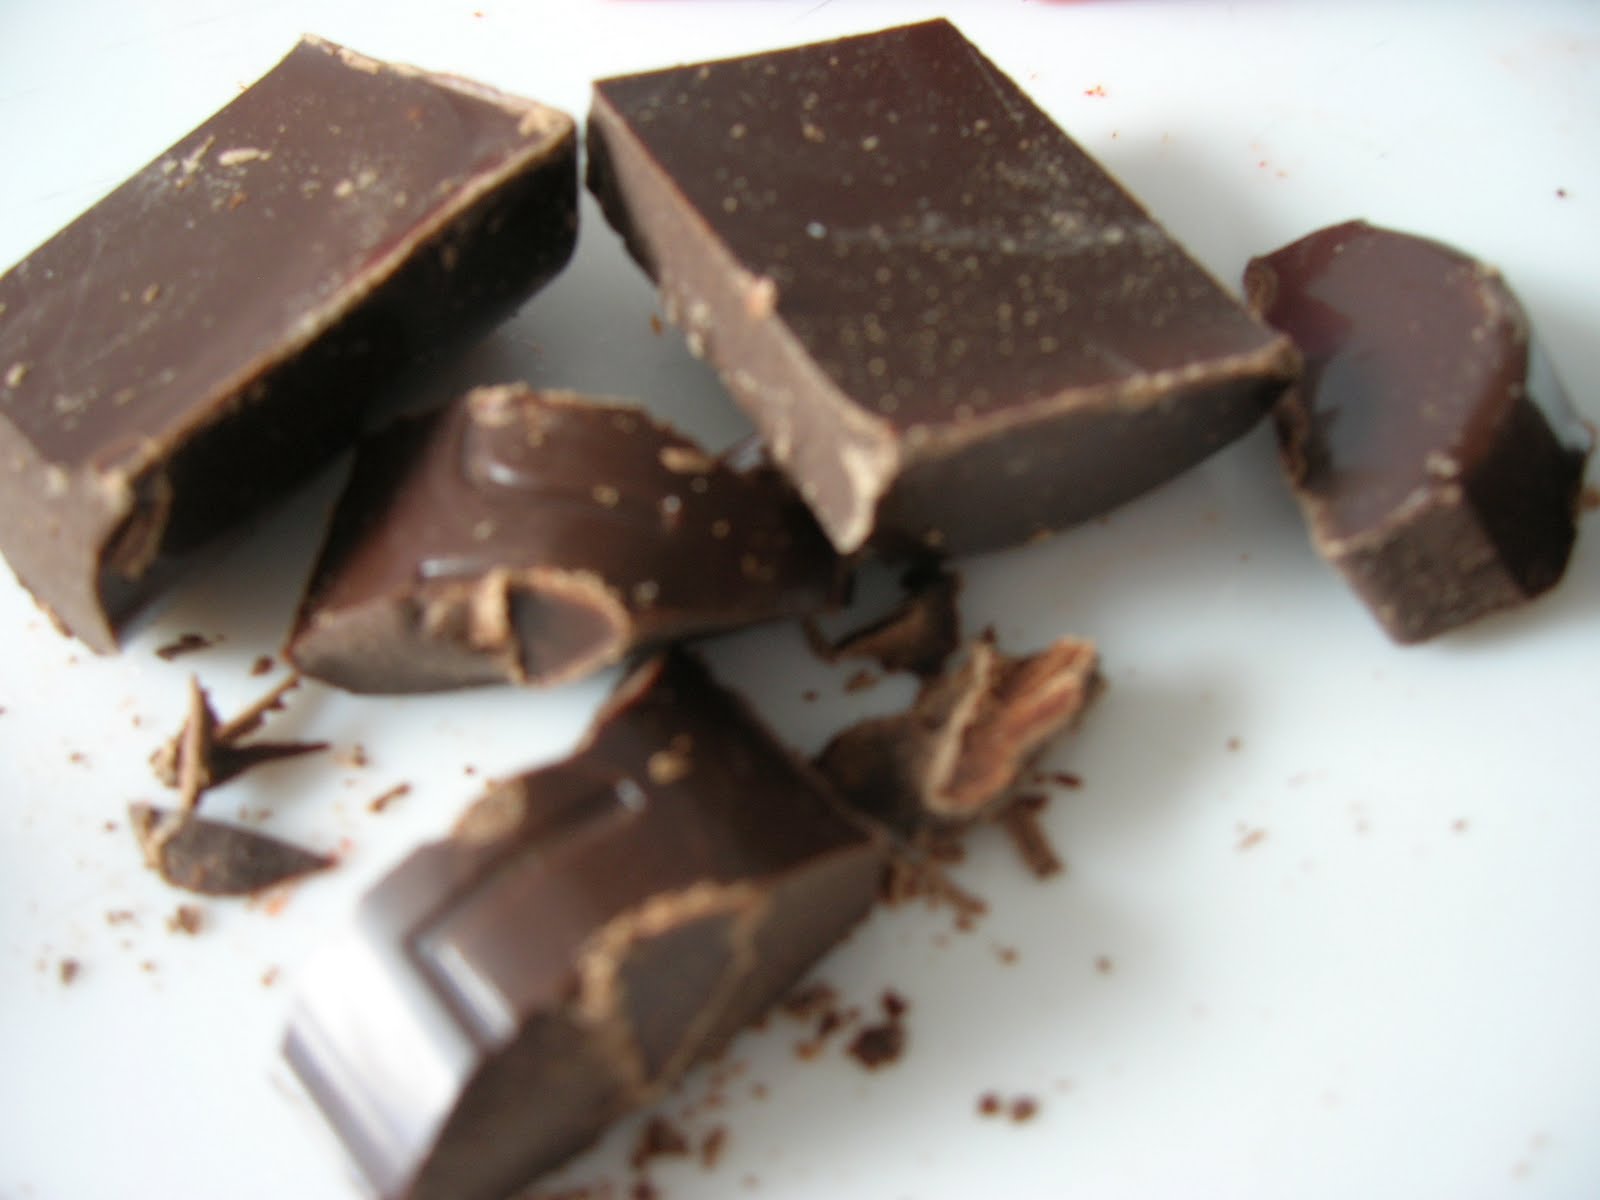
Chocolate is not.

This is not a science project, it's a jar of homemade (by the afore mentioned father in law - he's a real Renaissance man!) dulce de membrillo. The syrup (which results from boiling membrillo with sugar) is called almibar - we'll use this later.


So we take our little dough creations...whoops, some membrillo is poking out. But, no worries.


And we fry them in some hot oil (over medium heat) - this is sunflower oil.


They take about 1-2 minutes each to turn golden, and then should be removed to a paper towel where they will be immediately drizzled with a spoonful of almibar or sprinkled with sugar, or both!


Not long afterwards (because they should be eaten warm) they will be taken to the table to be consumed immediately with patriotic gusto.


Oooh, melty chocolate. (I'm warning you, this is not a traditional filling and may cause funny looks from locals)


Ooozing dulce de leche (also not traditional for pastelitos, watch yourselves)


Here's a familiar taste. Happy 25 de Mayo, Argentina. Sorry if I have displayed unpatriotic behavior by changing up the fillings, but they're delicious. 

Monday, May 16, 2011

Favorite Chocolate Cupcakes and Dulce de Leche Frosting


I've been baking mucho lately. I should probably work more and bake less, but that is no fun. I've found two excellent chocolate cupcake recipes. One is Smitten Kitchen's flourless Chocolate Soufflé Cupcakes. These are so rich that they don't need frosting but they do need something to fill the little sunken center on top, so I plopped in a scoop of ice cream. The second is a well-traveled Cooks Illustrated recipe for Ultimate Chocolate Cupcakes, which I found the following half-recipe for on Cookie Madness. This is now my go-to recipe for chocolate cupcakes. I guess that's why they're the ultimate.

My Favorite Chocolate Cupcakes
Ganache Filling:
  • 1 oz / 28 grams bittersweet chocolate
  • 2 Tablespoons heavy cream
  • 1/2 Tablespoon powdered sugar
Put all ingredients into a microwave safe bowl. Heat 10-30 seconds, until mixture is warm. Whisk until smooth. Refrigerate until just chilled, no more than 30 minutes.

Cupcakes:
  • 1 1/2 oz / 42 grams bittersweet chocolate
  • 2 1/2 Tablespoons / 15 grams cocoa powder
  • 1/4 cup plus 2 Tablespoons hot coffee
  • 1/4 cup plus 2 Tablespoons / 58 grams bread flour
  • 1/4 cup plus 2 Tablespoons / 72 grams sugar
  • 1/4 teaspoon salt
  • 1/4 teaspoon baking soda
  • 3 Tablespoons vegetable oil
  • 1 large egg, room temp
  • 1 teaspoon vinegar
  • 1/2 teaspoon vanilla extract
Combine chocolate, cocoa, and hot coffee in a mixing bowl. Whisk until smooth and refrigerate for 15 minutes. In a separate bowl, mix flour, sugar, salt, and baking soda. Whisk oil, eggs, vinegar, and vanilla into the cooled chocolate mixture until smooth, then stir in flour mixture. Divide batter between 6 baking cups and place 1 rounded spoon of ganache on top of each cupcake. Bake at 350F/180C for 17-19 minutes, until just firm to the touch. 

The Ultimate recipe includes a creamy chocolate frosting recipe that I didn't make because I'm afraid of eating raw eggs. Instead, I topped with dulce de leche cream cheese frosting. Though, I would also suggest a cream-based mocha frosting or a perhaps even a marshmallow frosting, if you're into that sort of thing.


Dulce de Leche Frosting
  • 56 grams / 1/2 stick of butter, softened
  • 113 grams / 4 ounces cream cheese, softened
  • 3 ounces (this is half of 3/4 cup) dulce de leche
  • 1/8 teaspoon salt
  • 1 1/2 - 2 cups powdered sugar
Beat cream cheese on medium speed for about 30 seconds, until very soft. Scrape down sides of bowl and add butter and dulce de leche. Beat on medium until well incorporated. Add the salt and powdered sugar. Beat on medium for about 3 minutes, until fluffy and lighter in color. I noticed that it wasn't quite thick enough for frosting so I continued to add powdered sugar until I got the right consistency. This makes enough for about 12 cupcakes. The frosting also went well with vanilla cupcakes with chocolate ganache centers.

Friday, April 29, 2011

Peanut Butter Cupcakes with Nutella Frosting


According to a jar of amazingly delicious peanut butter that we were gifted by a friend who had just returned from Cordoba (the province right next to ours), Hernando, Cordoba is the nation's peanut capital. If you ever see a jar of "La Campiña" you should grab it, and a spoon, and go. to. town.


This jar of peanuty goodness inspired me to bake peanut butter cupcakes. And a jar of Nutella inspired the frosting for such. Sometimes, brilliance awaits you in your cupboard. The peanut flavor of the cupcakes is perfect, almost (not quite but almost) overwhelming the Nutella. And they're a bit more dense than a light and fluffy cake. I busted out a spoon to finish one off. I would suggest making these as mini cupcakes - thus having a more equal ratio of peanut to Nutella flavor. Or, making them as smaller cupcakes - I filled about 1/2 - 2/3 full, so this could be reduced.


Another way to boost Nutella flavor, while cutting into the density of the cake, would be to scoop out a bit of the middle and fill with Nutella. Or double the amount of frosting that I made. Whatever your poison. Or cupcake pan size.

Peanut Butter Cupcakes
from Liv Life
  • 1 1/4 cup flour
  • 1 1/4 teaspoon baking powder
  • 1/4 teaspoon salt
  • 2/3 cup packed brown sugar 
  • 1/4 cup peanut butter
  • 42 grams / 3 tablespoons butter
  • 1 teaspoon vanilla
  • 1 large egg
  • 1 large egg white
  • 1/4 cup milk
Whisk together flour, baking powder, and salt - set aside. Beat brown sugar*, peanut butter, butter, and vanilla until blended (4-5 minutes). Add the egg and egg white, beat until combined. Add the flour mixture in a few additions, alternating with the milk - beginning and ending with the flour. Mix until combined. 

Spoon batter into 10-12 muffin cups (I would say to aim for 12). Bake at 180C/350F for 20 minutes or until a tester comes out clean. 

*I used part (about 1/4 c.) white sugar, as I'm quite stingy with my smuggled-in brown sugar


Nutella Frosting
from Good Life eats (I made half of the recipe, as follows)
  • 85 grams / 3 ounces cream cheese (Finlandia), at room temperature
  • 14 grams / 1 tablespoon butter, at room temperature
  • 1/4 cup Nutella
  • 1 3/4 - 2 cups powdered sugar
  • 1 teaspoon vanilla
Cream butter and cream cheese. Add Nutella and vanilla and continue to cream. Slowly incorporate powdered sugar, scraping down the sides of the bowl as necessary. Beat on high until fluffy and smooth.


Wednesday, February 16, 2011

DIY Napa Valley


We didn't want to leave California without spending a day, or at least part of a day, in that famous wine country. At first, it seemed like the easiest thing to do would be to go with a tour company. But after reading some questionable reviews and not wanting to be rushed or get bus sick, we decided that we could perhaps handle it ourselves. It seemed overwhelming and logistically impossible but it turned out to be our favorite Cali day.

We rented a car from whichever rental company was open the latest in our SF neighborhood - it ended up costing $38 (including insurance). The car plus gas wasn't even close to the price that tour companies are charging. We drove out of San Francisco via the Golden Gate Bridge.


We used the AAA Wineries Guide Map (Northern California), which lists all of the Sonoma and Napa Valley wineries and provides information on tour times, tasting rooms, and hours. Our strategy was to select a handful of wineries with tasting rooms that did not require us to call ahead for an appointment, as we didn't want to have to stick to an itinerary. I looked up online reviews to narrow our choices. We picked one winery with a set tour time and headed there first.

The route took us through foggy Sonoma County...


...past lovely countryside...


...and finally we arrived at Clos Pegase, a temple of art and wine.


That's Faribolous by Jean Dubuffet up there... and a couple of Robert Morris pieces below.


The place is basically a fantastic outdoor sculpture garden...
 

...oh, and a vineyard...


...complete with a huge cellar filled with more art and wine. We shared a tasting and took home a bottle of their Reserve Chardonnay.


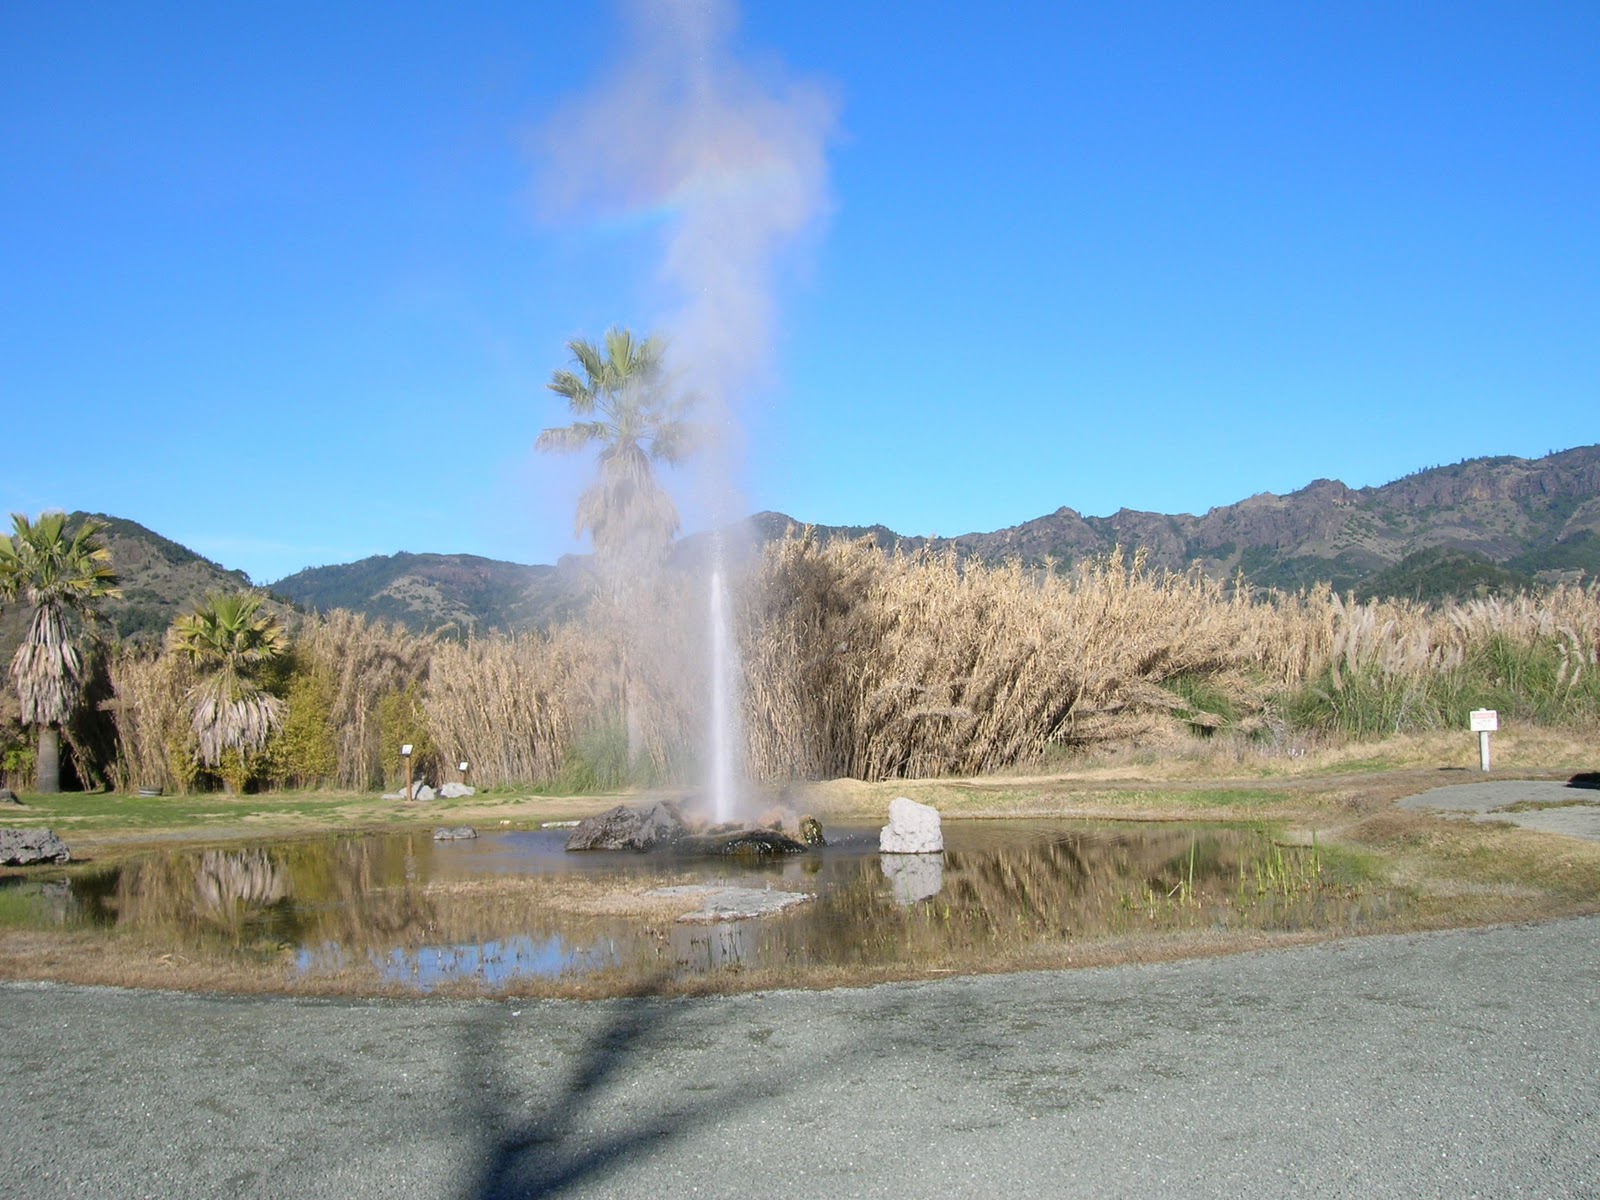
Since we were in Calistoga, we felt like we had to see the geyser there but it was totally lame-o.


Anyway, we had lunch in downtown Calistoga and then wandered on to our next stop, St. Supery Vineyards and Winery.


Another gorgeous spot with tasty wine. We had fun with their genuine and knowledgeable staff in the tasting room and took home a bottle of Moscato. 
 

Finally, we felt that we should visit one of the big boys before closing time, and we were in the mood for champagne. 


We shared a Reserve Tasting at the bar at Domaine Chandon.


 And I giggled all the way home.


We packed a lot into one day - we left SF at 9am and were back by 7pm - but were pleasantly surprised that we were able to take a tour and do three tastings, in addition to sightseeing and a leisurely lunch. We're so glad that we DIY-ed it, as we got a great experience for half the price of a tour. We shared all the tastings so that we could still drive. I was also worried about getting too tipsy at the first place (5 wines) and practiced spitting in the bucket. It felt silly at first but another couple stumbled away after their shared tasting, not knowing if they would make it to another winery that day. Therefore, I say there's no shame in spitting! But, I couldn't bring myself to spit champagne and I left Chandon feeling pretty happy (and apparently hungry, I killed an entire bag of Goldfish crackers on the way home).

Thursday, February 3, 2011

This is Why I'm Fat

So, here's the reason (ok, reasons) why I had to go on a diet...

It started innocently enough in the quiet town of Phoenicia in the Catskills. Giant pancakes from Sweet Sue's.

But once we hit San Francisco, it was all downhill from there...


Here's breakfast at Blue Bottle Coffee:


Followed by lunch at City View Dim Sum:


And a stop at Ghirardelli Square for hot chocolate with caramel and sea salt...


...and a Domingo.


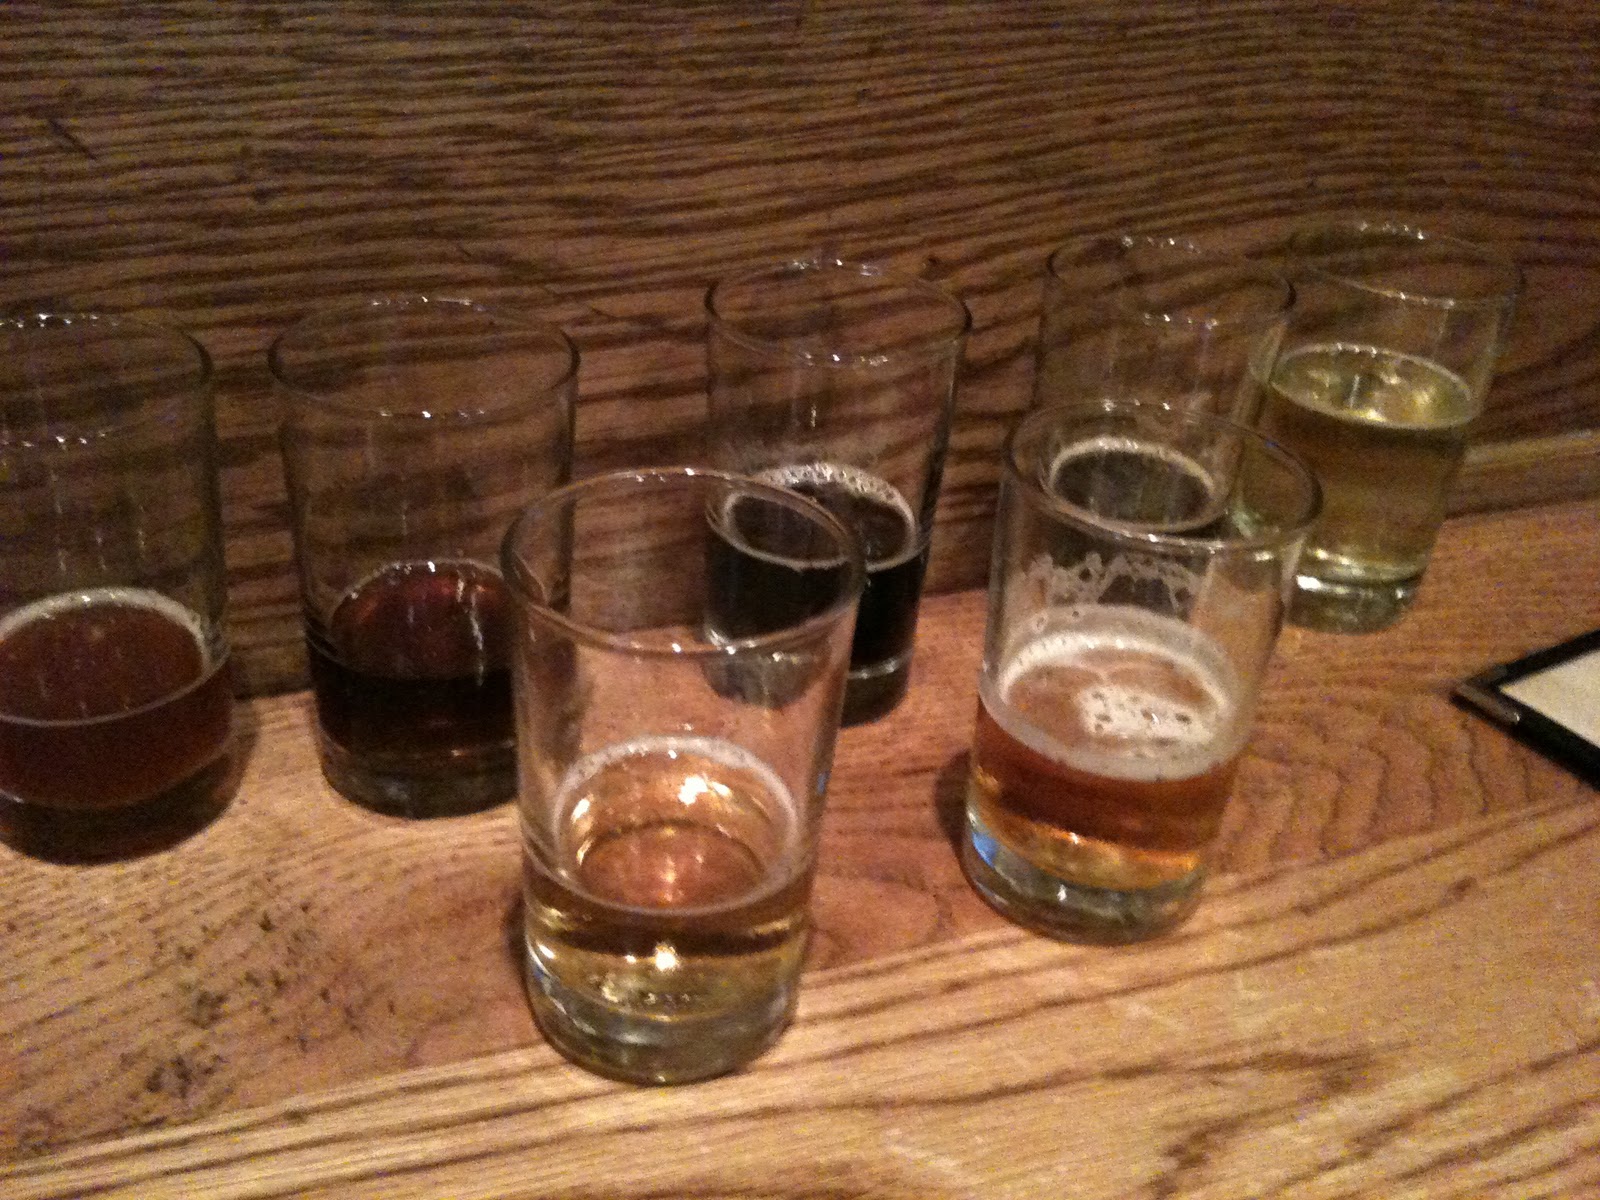
Then a delicious beer sampler from 21st Amendment Brewery:


Local/Seasonal brunch at Nopa:


Whoops, I forgot to take photos of our amazing food. Well, here's the bar...


Dinner in the Mission District at Pancho Villa Taqueria, where there is a varied veggie selection but carnitas are a must for meat-eaters.


And, strangely, this is the only photo I took of sourdough from Tartine Bakery, though it took us 3 days to eat the whole loaf.


At some point while in North Beach, I completely lost it and became the salt water taffy monger at Z. Cioccolato.


Luckily, a glass of house wine at Caffe Triste helped me channel my inner beatnik.


And the icing on the cake...is rose flavored at SFMoMA's Rooftop Coffee Bar.


Other favorite eating spots were Cowgirl Creamery and Out the Door (eat the steamed buns), both in the Ferry Market Building. Places that we're sad we didn't get to include Bi-rite Creamery, Dynamo Donuts, R&G Lounge,  St. Francis Fountain Diner, Delfina, and Millenium. So, I guess we have to go back.

The recommendations for most of the above came from either David Lebovitz or 101 Cookbooks. And special thanks to Matt for the tip about Sweet Sue's, which will someday appear in his cross-country guide/memoir of the best restaurants ever.

Wednesday, January 26, 2011

Adventures in Cabbage Soup Dieting

You know that feeling that you get after the holidays when your clothes are quite snug and you're sure you've probably put on a few pounds but you haven't stepped on a scale so it isn't real? Yeah, me too. And doesn't it totally suck when you actually do get on that scale and it's worse news that you'd thought?  Yikes. Then it's time for drastic measures. Enter The Cabbage Soup Diet. Seven days of weird eating strategies supplemented by non-hearty bowls of...you guessed it...cabbage soup. 

Day 1 was easy enough, only fruit and your soup. Day 2, however, was harder on me - only veggies and soup, no fruit - which meant that my sweet tooth was killing me. An allowed baked potato saved the day. Here it is along with some curried veggies:


Curried Roasted Vegetables
  • 3-4 cups of cubed vegetables - I used onion, garlic, red pepper, carrot, broccoli, eggplant, zapallito, and about a quarter of a calabaza
  • Drizzle of olive oil
  • 1 teaspoon curry powder
  • 1/2 teaspoon cumin
  • 1/4 teaspoon dry mustard powder
  • 1/4 teaspoon powdered ginger
  • salt and pepper
Toss all ingredients in a bowl until veggies are coated with spices. Spread out veggies in one layer on a lightly oiled baking sheet. Roast in a hot oven (400F, 205C) for 15 minutes covered with tinfoil and an additional 15 minutes without foil, or until cooked to your preference. Turn every 10 minutes for evenness and to prevent sticking. 


Day 3 was a piece of cake - fruits, veggies, and soup. And I should note that we didn't make the cabbage soup recipe, we actually made our own version. It included cabbage but not really any seasonings - just veggies simmered with nothing but water, salt, and pepper for about half an hour.

Day 4, however, was not. Bananas and skim milk day. Oh, the humanity. But we made a feast of it. First, banana milkshakes: Combine a banana with about a cup of cold skim milk and a few ice cubes in a food processor until well blended. Add a few drops of vanilla or almond extract for great flavor.


Banana "Ice Cream"
  • Bananas
  • Lemon juice
That's it! That's all of the ingredients. Slice the bananas, brush with or dip in lemon juice. Freeze the slices in one layer for a couple of hours. Blend in a food processor, scraping the sides as needed, until the slices get creamy...like ice cream! Add a touch of skim milk if you're having trouble blending. 


I'll make this "ice cream" again along with a dollop of peanut butter of dulce de leche blended in. It's amazing how close the texture is to actual ice cream.


Days 5 and 6 permitted the eating of beef or chicken. And for me that meant tofu. I experimented with 2 cooking styles. Both began by cutting a block of tofu into 1cm thick slices and pressing between two dish towels for 30 minutes - I stacked a couple of Harry Potter books on top of a cutting board covering the towels. This process is to soak up the water so that the tofu will hold onto a marinade.


The first method called for dry frying the tofu before marinading.

Tofu Marinade (for half of a block of tofu)

  • 1 onion, chopped
  • 1 big clove of garlic, chopped
  • 2 T. soy sauce
  • shake of tamarind sauce
  • 1 T. lemon juice
  • pinch of red pepper flakes
  • pinch of dry mustard powder
  • pinch of ginger powder
  • pinch of cayenne pepper
  • pinch of vegetable powder
Combine all ingredients in a bowl, add dry fried tofu, add enough water to cover the tofu. Marinade for 2 hours or overnight in the refrigerator. 


Saute tofu in the marinade until most of the liquid evaporates. Add any additional vegetables if you like. I added tomatoes (added for the last 5 minutes of sauteing) for day 5...


...and carrots and broccoli for day 6. I also added black and white sesame seeds, though these weren't part of the diet plan. (I also ate vegan chocolate on a few of the days...a girl's gotta break some rules.)


The second tofu-cooking method I tried was for baked tofu. This goes into the marinade right after pressing. I tried a lighter, curry powder based marinade with mint but the flavor either wasn't as strong as the soy sauce based marinade or I didn't let it sit long enough. So, that recipe is going to take some experimenting.


After marinading, bake the tofu (flipping every 20 minutes) on a lightly oiled baking sheet for 45 minutes to an hour at 180C, 350F. This gave it a great texture but because the flavor was so subtle, I went ahead and sauteed the baked tofu in the marinade and added a tomato.


Day 7 - the home stretch - incorporated vegetables and brown rice. I had been reluctant to eat an avocado all week due to it's high (good) fat content but tossed one with a couple of tomatoes, a drizzle of olive oil and lemon juice, and a sprinkle of sesame seeds for a salad on the last day.


Of course, I took some liberties with the diet foods (it's not like there are cooking instructions) and I still had a small cup of coffee with milk and sugar for breakfast each day to keep my sanity. In the end I lost nearly 2 kilos but, most importantly, I found new and different ways to eat healthy foods. I will say that this diet can screw with your system, so watch out for weirdness and be careful. The great thing is that I'm satisfied with smaller portions and I don't have crazy cravings now. It's kind of like someone hit my reset button and I can appreciate food and drinks in moderation again. Also, my jeans don't muffin-top me so much. Awesome.