Wednesday, February 22, 2012

Macaroni & Cauliflower & Cheese


I had every intention of making a healthy mac and cheese, and I do think this is a pretty acceptable version, but I wouldn't insult you by saying it's good for you. It started, innocently enough, with this Eat Yourself Skinny recipe. But here's where I went wrong: there was no wheat pasta to be found (only the vegetable kind, which I'm not sure is any better and it didn't come in the right shape anyway) and we certainly don't have Smart Taste or whatever, and I didn't use reduced-fat cheese or fat-free half-and-half - because what the crap is that?? We may have a few reduced-fat cheese options but they're the shredded, processed kind that include additives. Fat-free half-and-half does not exist here and it's silly to think that it's an actual thing - it's full of corn syrup and artificial ingredients. So, I thought it best to use real cheese and milk. What this recipe does have going for it is cauliflower to replace some of the volume of pasta - so it is healthier compared to most versions. But let's be honest, the only way this is healthy is if you eat a small portion - like, smaller than the salad you'll serve next to it:


Mac & Cauliflower & Cheese
  • 325 grams elbow macaroni (about 12 oz?)
  • 1/2 large head cauliflower, chopped into florets
  • 1/3 cup whole wheat bread crumbs
  • ~ handful of parsley, chopped
  • 4 Tablespoons Parmesan cheese, finely shredded
  • 1 medium onion, diced
  • 1 Tablespoon olive oil
  • 115 grams/4 oz. Finlandia Light (reduced-fat cream cheese)
  • 1 1/2 cups cheddar, gouda, or similar cheese, shredded (I used half gouda, half Tynbo)
  • 1/2 cup 2% milk
  • 2 teaspoons Dijon mustard
  • 1/2 teaspoon salt, plus a bit more
  • 1/2 teaspoon pepper
  • Few leaves of fresh basil, chopped
  • Butter to coat pan
Butter a casserole dish and preheat oven to 375F/190C. Bring a large pot of salted water to a boil. Cook pasta until al dente - adding cauliflower for the last 5 minutes of cooking. Reserve ~1 cup pasta water and drain. In a small bowl, combine bread crumbs, parsley, 1 Tablespoon Parmesan cheese and a shake of salt and pepper, set aside. Sauté onion in oil and 1/2 teaspoon of salt until soft, about 3-5 minutes. Mix in Finlandia, cheeses, the remaining 3 Tablespoons of Parmesan, milk, mustard, pepper, basil, macaroni and cauliflower, stirring until creamy and combined (about 1 minute), adding reserved pasta water as necessary - I added about 3/4 cup. Pour into prepared casserole dish and sprinkle with the bread crumb mixture. Bake for about 20 minutes. Note that the crumbs won't brown because there's no oil or butter in the topping. If desired, mist the crumbs with olive oil.

Monday, February 20, 2012

Roasted Vegetable Sandwich & Curry Fries


Roasted Vegetable Sandwich

This doesn't really require a recipe - just slice up some summer veggies and toss in a bowl with a good drizzle of olive oil, salt, pepper and fresh herbs. For this one, I used eggplant and zucchini cut into 1/4 inch thick slices, red pepper cut into strips 1/4 inch thick, and carrots sliced even thinner. After coating veggies with oil and seasoning, roast in a hot oven (450F/230C) for 20-25 minutes - flipping them over after 10 minutes. 

I found multigrain flat bread "buns" at the grocery store and I heart them. Stuff like this isn't so easy to find around here so if you're looking for it, the brand is Oroweat and they're called Flats. I found them at Coto.

Serve veggies on a bun with hummus or Dijon mustard. Add a slice of cheese if you're feeling it.  


Curry Fries
(adapted from Post Punk Kitchen)
  • 2 large Russet potatoes
  • 1 teaspoon mild curry powder
  • 1/4 teaspoon salt
  • 1 large clove garlic, finely diced
  • Drizzle of olive oil to coat
Bring a large pot of salted water to boil and preheat oven to 425F/220C. Slice potatoes about 1/4 inch thick and boil for 3 minutes. Immediately remove to an ice bath. When cool, lay out on a towel in a single layer to dry and blot the tops with a paper towel - a little moisture is okay. Combine potatoes, curry powder, salt, garlic and a drizzle of oil in a bowl and toss until coated. Place fries in a single layer on a non-stick or greased baking sheet. Bake for 8 to 12 minutes on each side until golden brown.


If you're baking the veggies and the fries at the same time, you may need to add a few minutes to the cooking times.

Wednesday, February 15, 2012

Vegetarian Biscuits & Gravy


This dish should not be confused with all of the healthy recipes I've been posting lately. There's a time and place for healthy food and a time and place for the stuff that makes life worth living. This was for a special occasion: Valentine's brunch. That said, it isn't so bad as this recipe uses veggie patties instead of sausage and I swapped out some white flour for wheat flour in the biscuits - although, I did add cheese. ;)


Biscuits & Veggie Gravy

Parmesan Biscuits (adapted from Alton Brown):
  • 1 1/2 cups all-purpose flour
  • 1/2 cup wheat flour
  • 4 teaspoons baking powder
  • 1/4 teaspoon baking soda
  • 3/4 teaspoon salt
  • 2 Tablespoons (28 grams) butter, cold
  • 2 Tablespoons (28 grams) vegetable shortening, cold
  • 1 cup buttermilk, cold
  • 1/3 cup shredded cheese (I used parmesan)
Combine flour, baking powder, baking soda and salt in a large bowl. Using cool fingertips or a pastry blender, blend butter and shortening into dry ingredients until mixture looks like crumbs. Make a well in the center and pour in buttermilk. Stir just until dough comes together - it will be sticky. Turn out onto floured surface, dust top with flour and fold dough over on itself 5 to 6 times. Press into a 1-inch thick round and cut out biscuits with a biscuit cutter or a glass. Reform scrap dough, working it as little as possible, and cut out the rest of the biscuits. You should have about 12 biscuits. You can lay them out on a baking sheet so that they just touch or you can space them out a little. I pressed my dough out a bit thinner and stacked 2 biscuits tall so that they would split easily. Bake at 450F/230C for 15-20 minutes.

Vegetarian Gravy:
  • 2 veggie burgers (or veggie sausage)
  • Olive oil, as needed
  • 1 Tablespoon (14 grams) butter
  • 1/4 cup (or 2 heaping soup spoons) flour
  • 2 cups buttermilk (or 2% milk will work) plus extra for thinning, at room temperature
  • Veggie powder, salt and pepper to taste
  • 1 sprig fresh thyme, stripped
  • Handful of fresh parsley, chopped
Cook burgers in a drizzle of oil over medium heat, squishing and flattening them a bit until they start to break up and get crispy on the bottom. Flip them over and repeat - start breaking them down into crumbles. Once thoroughly cooked, remove the crumbles from the pan with a spatula - it's okay to leave some in the pan, and try to leave all of the oil. (Since I didn't use a non-stick pan, I went ahead and added enough water to cover the bottom of the pan, let it warm up and started scrapping out the bits that were stuck - you should probably do this with oil or butter but it seemed excessive.) Add butter and melt, swirling around the pan. Whisk in flour for about one minute. (Alternatively, you could whisk milk and flour together before adding it to the pan.) Add buttermilk, veggie powder, a pinch of salt, thyme, and crack in some pepper. Whisk constantly for a few minutes, making sure there are no lumps of flour. Stir in a handful of fresh parsley. Either let it simmer until it's at a thick enough consistency or whisk in more milk, depending on the consistency you'd like. Add more salt and pepper, if necessary (I think heaps of pepper are necessary). Stir the crumbles into the gravy. After I'd removed the crumbles, it took me about 10 minutes to make the gravy.


Parmesan Heart: 
Now, if it's Valentine's Day (or if you're just really nice) you could make a heart-shaped Parmesan crisp by using a Tablespoon of shredded cheese for each heart and shaping it on a non-stick baking sheet. Bake at about 350F/180C for 7-10 minutes, checking frequently. Then, you can just turn off the oven and let them set in there, getting all crispy for another 10 minutes while you're finishing the gravy. While they're still warm, but not gooey, carefully remove them from the pan.


Serve alone or with other brunch dishes, like scrambled eggs with basil. 

Monday, February 13, 2012

Mendoza Wine & Beer!


Not long ago, we took a quick trip to Mendoza - the heart of Argentina's wine industry. So here's a brief recap of the 5 days/3 nights we spent there with some great new friends (the nights following and preceding this trip were spent on a bus to/from Rosario, which is not actually a bad way to travel when you consider that you get to play Bingo and are given wine with dinner).


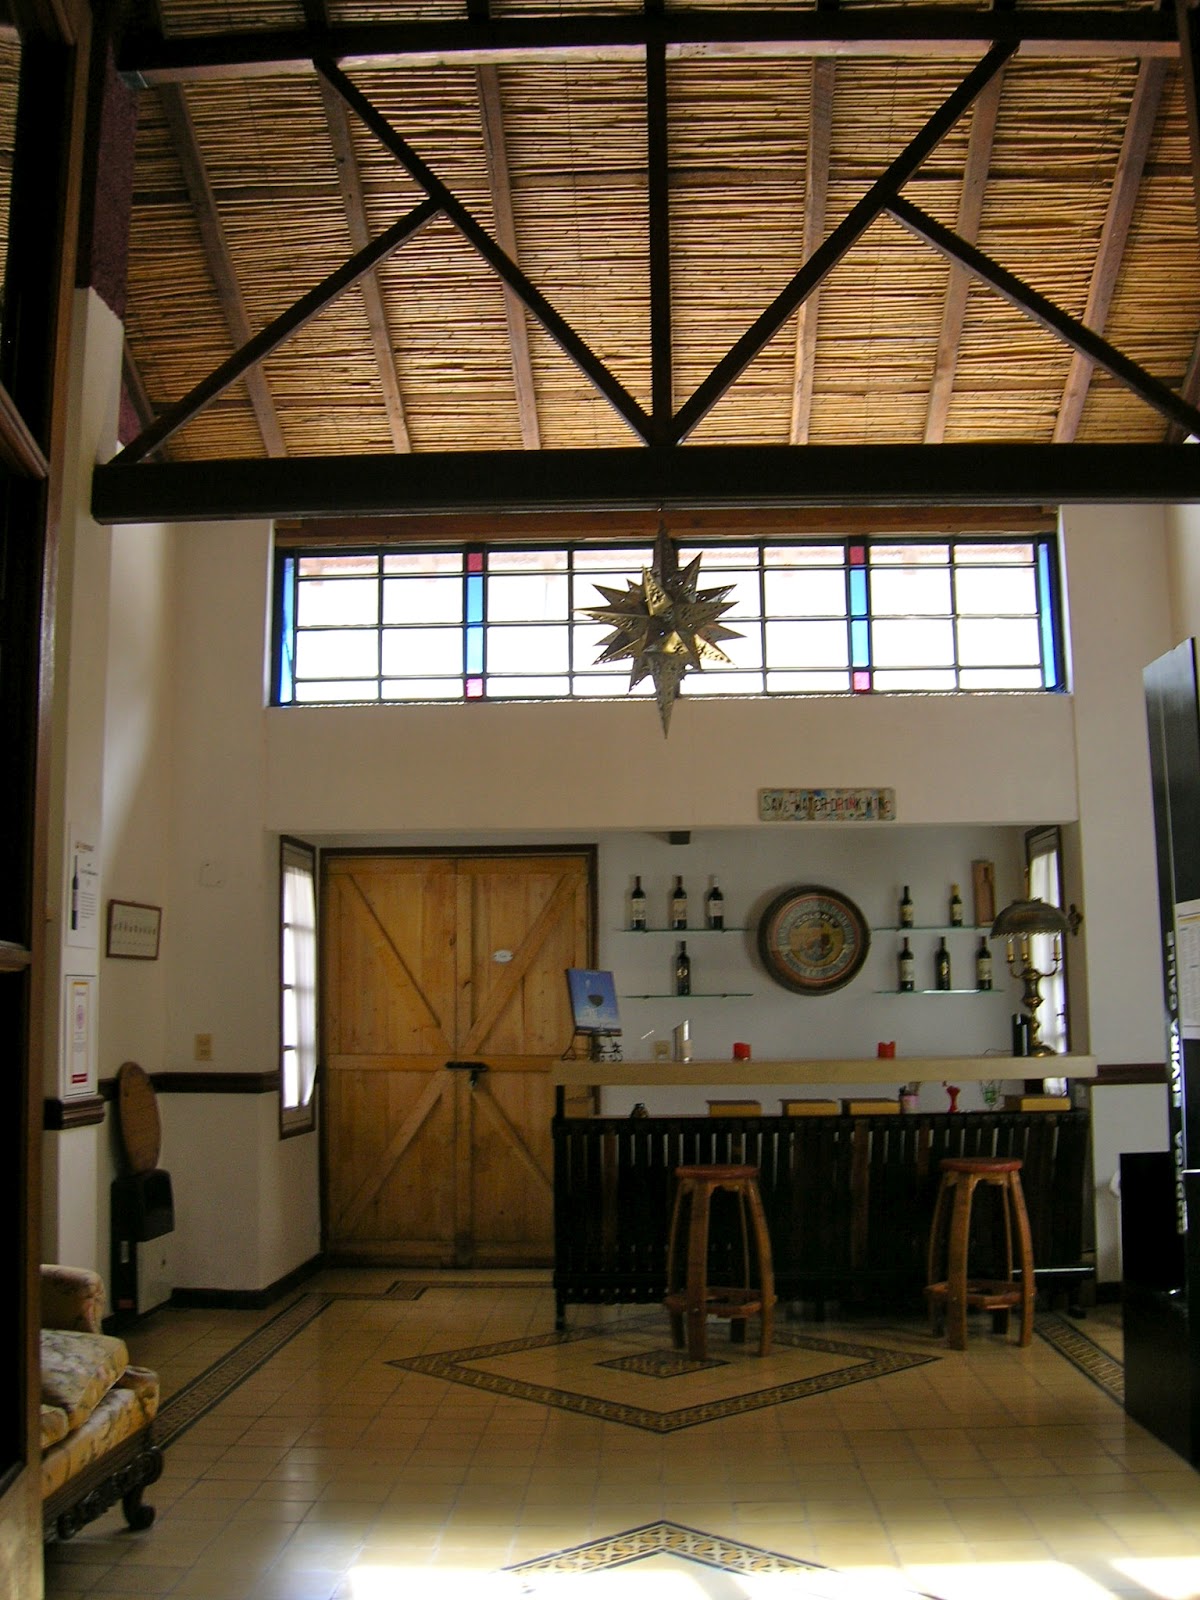
Here's the tasting room of the chalet we stayed at via Airbnb. Our stay included a free bottle of the chalet's wine (Bodega Calle) each night. And here's the backyard...


I'll get to the wine in a minute. First, we did this:


And then some of this:


Before happily stumbling upon the obscure but impressive Jerome brewery (find out more about it here). We had wanted to go but didn't know how to find it -- luckily, we passed it on the way to the horseback riding place in the Potrerillos.


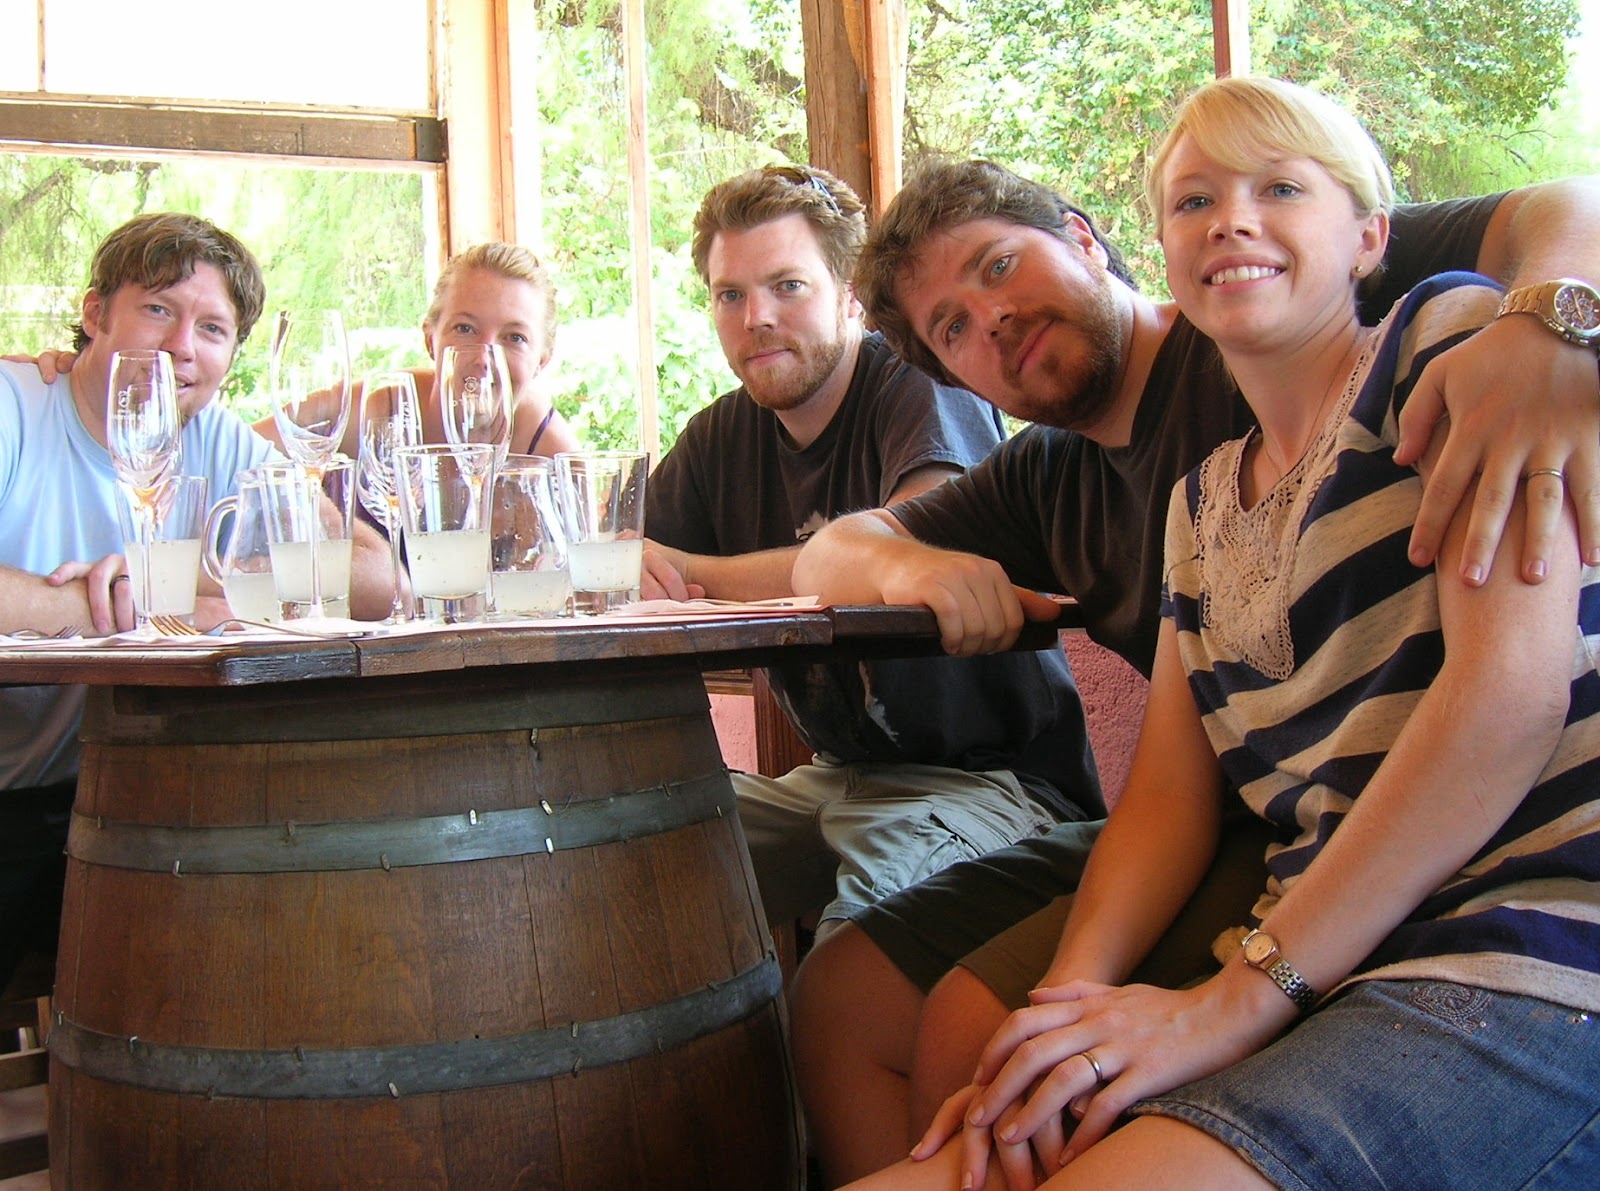
We drank some of this:
And ate some of this:

The next day, we attempted a wine tour of Maipú by bike. We chose Mr. Hugo as our bike rental company because of good reviews. Let me tell you that this was quite an experience. You get this little map of the area with a handful of wineries and other interesting places and you think "aw, how fun and adorable is this?!" And then, not far down the road, you realize that the bike lane does not continue and you're sharing a bumpy and broken highway with trucks and traffic. Oh, and then you realize that everything is way more spread out than you'd thought in your crooked little mind that thinks it's on vacation. And so you KNOW that you're not going to make it to even half of those great places on the map. 


Finally, you'll arrive somewhere, probably dying of exhaustion, and you'll wonder how you're ever going to hold a sophisticated glass of red wine in your sweaty calloused hand. But, if you head for Tempus Alba, fear not. Their brilliantly air conditioned restaurant is the perfect place for a delicious lunch to accompany a six wine tasting. I'm serious - the food was the best of our trip. 


But I didn't take a picture of it because this was a wine tour, after all. The prices are quite reasonable for the quality and service. The tasting was around 30 pesos and lunch was about 40-50 pesos for a plato principal. Here's the view from the patio:


We managed to cram in one other winery tasting (at some snotty place) before booking it to Trapiche to make it in time for our scheduled tour. I had more fun playing in the fountains than on the actual tour, but it was mostly air conditioned so I didn't gripe!


Plus, the tour ends with a tasting of three Trapiche wines (included in the tour price - I think it was around 35 pesos). Trapiche is one of the most well-known, commercial brands of Argentine wine so, of course, it lacks the charm of a boutique winery but it's still good wine and you get a look inside an industrial brand.


That was, sadly, all the wineries that we made it to that day on the bike tour. We were too exhausted to ride out to the olive oil factories and the wine museum had closed. But we passed close to Historias y Sabores on the way back and stopped for a 20 peso tasting that included chocolate, tapenades, jams, and liqueur. And we took home some Chardonnay jam.


We went ahead and returned the bikes on time, though Mr. Hugo doesn't hurry you and he gives you another glass of wine upon your return. You'd think I'd have been flat out drunk by then, but the biking must have sobered me up quite quickly. So we went to this nearby (it's on the bike map) cerveceria just before closing time.


Wouldn't you know it -- there was another tasting! This one was cheaper.


So that was the end of the bike tour for us. The map from Mr. Hugo was helpful, as his staff wrote out the prices and closing times for all of the stops for us. Some places might require reservations, like Trapiche, so it's still helpful to do some research ahead of time.  We also got a discount from Hugo for the restaurant at the DiTomasso winery so we went back the next day for lunch.


The power went out so we drank cold wine and ate cold salads. I would have loved to have had lunch in the vineyard at Cecchin but when we got there (and it is NOT easy to find) they told us they were full, even though we called the day before and they said reservations were not needed. Hmmph! I guess Mendoza is more of a winging-it kind of trip.


Finally, our last stop was at Finca Flinchman - my favorite bodega. We had to make a tour reservation and it's about 20 kilometers outside of Maipú, but it was worth it.


The free tour included a free tasting! And it featured this lovely sparkling Chardonnay Malbec. Yep, you read that right.


We took home a few bottles of our favorite Malbec, Gestos, which is a blend of the varietal from two altitudes, along with as many other wines as we could carry. Unlike the majority of the other wineries (that cater to dollar-toting tourists) the prices at Finca Flichman are a steal - way cheaper than we can get here in Rosario and are in pristine condition.


I can't believe it took me so long to get to Mendoza. Now, it's going to have to be a recurring pilgrimage. I'd love to try some of the upscale wineries and restaurants but I haven't figured out how to play the lottery here yet. And I'm not sure it would be enough. We got lucky with the rental house, which made our trip so much more affordable by splitting it between the five of us - plus we were able to cook our own meals.

In addition, we rented a car (from a local company instead of an international one - cheaper still!) and it made the trip. Without it, we wouldn't have been able to stay out in Lujan de Cuyo or have made the trip to the excursion spots and wineries so easily. We even ended up on the Dakar route and were passed by some of the competitors -- this was a different kind of vacation.

Friday, February 10, 2012

Ratatouille & Parmesan Polenta


This dish is a combination of Ratatouille's Ratatouille from Smitten Kitchen and Parmesan Polenta from Eighty Twenty (a great healthy recipe resource). I usually make couscous (flavored with Mediterranean spices) to go with this ratatouille but tried something even healthier (?). This ratatouille recipe is my favorite - not too many spices and no big lumps of eggplant.

Ratatouille's Ratatouille
from Smitten Kitchen
  • 1/2 onion, finely chopped
  • 2 garlic cloves, very thinly sliced
  • 1 cup tomato puree
  • 2 Tablespoons olive oil, divided
  • 1 small eggplant
  • 1 small zucchini
  • 1 yellow squash (I usually can't find this here so I don't mind leaving it out)
  • 1 long red bell pepper
  • Few sprigs of thyme
  • Salt & pepper
Mix puree, garlic, onion and 1 Tablespoon oil in the bottom of a baking dish. Season generously with salt and pepper. Thinly slice vegetables and arrange slices atop the sauce in concentrically from the outer edge to the inside of the dish, overlapping so that just a bit of each flat surface is visible, alternating veggies. Drizzle the remaining Tablespoon of oil over the veggies and season generously with salt and pepper. Sprinkle fresh thyme over the top. Cover dish with a piece of parchment paper (or tinfoil) cut to fit inside. Bake at 375F/190C for 45 to 55 minutes, until veggies have released their liquid and are clearly cooked but not totally limp. The sauce will bubble up around them. 

Parmesan Polenta
from Eighty Twenty
  • 2 teaspoons olive oil
  • 2 cloves garlic, finely chopped
  • 2 cups vegetable broth
  • 1/2 cup cornmeal 
  • 2 Tablespoons parmesan cheese, shredded
Heat olive oil over medium heat in a saucepan, add garlic and sauté for 1 to 2 minutes. Turn the heat up to high, add broth and bring to a boil. Gradually add cornmeal with continually whisking. Reduce heat to low and simmer for 10 to 15 minutes, stirring often to prevent lumps. Stir in parmesan in the last minute of cooking time. 

Serve ratatouille atop polenta and garnish with just a tad more parmesan cheese.

Monday, February 6, 2012

Doppio Zero

UPDATE JULY 2013: Sadly, this place is no longer on my favorites list. It's gotten progressively worse and the last 2 times I went, there were problems (raw gnocchi, wrong orders) with the food and everyone had to eat/wait for others to eat at different times. The worst part is that the manager seems completely indifferent and wants you to pay full price for your late dish without bothering to apologize or even talk with you. None of the original managers or waiters are there today. I can get over mistaken orders, but their attitudes have now ruined several attempts to enjoy a night out with good food.


We first found this restaurant in Funes and were super happy excited to learn that a Doppio Zero just opened in Rosario, too!


There's a full menu of Italian fare - from aperitifs to bruschetta, pizza, pasta and desserts!


And there are desserts with Nutella, oh, yes.

Doppio Zero
Tucumán 1281, Rosario!

Friday, February 3, 2012

More Healthy Food!


That there is the only shot I got of this meal before hastily gobbling it up -- guilt-free!

Lemony Quinoa With Broccoli & Cashews
adapted from Whole Foods
  • Half of a green pepper, chopped (I used this instead of sundried tomatoes per a comment suggestion)
  • 1 onion, finely chopped
  • 2 cloves garlic, finely chopped
  • 1 teaspoon olive oil
  • Pinch salt & pepper
  • 1/2 cup water
  • 1 cup veggie broth (or substitute water and veggie powder)
  • 3/4 cup white wine (I didn't have any so I substituted veggie broth)
  • 1/4 cup lemon juice
  • 1 cup uncooked quinoa, cleaned
  • 2 cups broccoli florets
  • 1/2 cup cashews, chopped
Saute onion and garlic in oil for just a few minutes, season with salt and pepper and add water, broth, wine, and lemon juice and bring to a boil. Stir in quinoa, cover, reduce heat to low and simmer for 10 minutes. Toss broccoli into the pot, cover and simmer for another 10 minutes. Toss gently to combine. Garnish with cashews. 

Roasted Carrot & Avocado Salad
from Smitten Kitchen
  • 1 pound carrots, peeled and cut into two-inch segments
  • 2 Tablespoons olive oil, plus a drizzle to finish
  • 1/4 teaspoon ground cumin
  • Course salt and black pepper
  • 1/2 avocado, pitted and sliced (obviously, I just used the whole thing)
  • Juice of half a lemon
Toss carrots with 2 Tablespoons oil, salt & pepper (as much as you prefer - I used a big pinch and 2 twists), and cumin. Arrange on a baking sheet and roast for 20-30 minutes at 400F/200C until tender and browned.  To serve, arrange avocado slices on top of roasted carrots and dress with lemon juice,  a drizzle of olive oil, and extra salt and pepper if necessary.

Thursday, February 2, 2012

Best Broccoli Salad


There are too many ingredients in this salad (or side dish) to come with a name for it that includes them all. Really, it's a dumbed down version of what Heidi at 101 Cookbooks calls Broccoli Crunch Recipe and it. is. fabulous. Actually, I just had it for lunch and had to post immediately.

Best Broccoli Salad (or something)
  • 1 medium-large onion
  • 4-5 cups small broccoli florets
  • Scant 1/2 teaspoon salt (or less)
  • 2 Tablespoons peanut butter (original recipe calls for almond butter)
  • 3 Tablespoons freshly squeezed lemon juice
  • 1 teaspoon honey
  • 2 Tablespoons olive oil
  • 2 Tablespoons hot water
  • 2 small apples, cut into thin slices
  • Small handful of almonds, toasted (or substitute peanuts)
Start by caramelizing the onion - sauté with a drizzle of olive oil and a generous pinch of salt over medium heat for about 15 minutes, stirring frequently. Once caramelized, move onions to a paper towel to crisp up a bit. Meanwhile, get water boiling for the broccoli and either blanch or steam until it reaches your preferred consistency (it should have a crunch to it) - Heidi barely cooks it for 15 seconds but I steam mine for at least 5 minutes with a sprinkle of salt, then rinse with cool water to stop the cooking. I took her suggestion to dry it in a salad spinner and thought it was a brilliant trick - no soggy broccoli. 

Make the dressing: Whisk together the salt (less if your peanut butter is salty), peanut butter, lemon juice, honey, oil and hot water. Full disclosure here -  I only had a little over a cup of broccoli so I scaled everything back a lot (though I still used a medium onion) and I made the dressing using the juice of half of a small lemon along with about a teaspoon of everything else and a pinch of salt. I omitted the garlic and the red onion from the original recipe mostly because it was just too many steps. Pour dressing over broccoli and apples, top with caramelized onions and nuts. 

The number of steps and dirty dishes aside, this was an amazing recipe. Here's a close-up of that creamy dressing and layers of flavors: 

Wednesday, February 1, 2012

Cornmeal Crusted White Bean Burgers


I'm back on the (healthy foods) wagon so I'll be posting some lighter fare in hopes of revisiting it soon. I loved the flavor of these burgers, though they are a little mushy - as in, don't think you can just toss it onto the parilla because it's kind of like grilling mashed potatoes. And to give fair warning - these are lightly fried (something I neglected to notice until after assembly).

Cornmeal Crusted Bean & Quinoa Burgers
from Eating Well
  • 1/2 cup water
  • 1/4 cup quinoa, picked over, soaked, scrubbed & rinsed (I may be exaggerating here but I hate gritty bites of quinoa)
  • 3 Tablespoons olive oil, divided
  • 1/2 cup red (I used green) onion, chopped
  • 1 clove garlic, minced
  • 2 1/2 cups cooked white beans, well drained (I only made half of this recipe and used one can of beans - drained & rinsed)
  • 1 teaspoon smoked paprika (I didn't have it so I used sweet paprika and a touch of cayenne)
  • 1/2 teaspoon ground cumin
  • 3 Tablespoons fresh cilantro (or substitute parsley), chopped
  • 3 Tablespoons cornmeal, plus extra for coating burgers
  • 1/2 teaspoon salt
  • Freshly groung pepper to taste
  • Dash of hot sauce (This was my addition and may have messed with the consistency of the burgers, but I really don't think that's what made them mushy)
Bring water to a boil and add quinoa, returning to a boil. Turn heat to low, cover and cook until water has been absorbed, about 10 minutes. Uncover and set aside. Sauté onion and garlic in 1 T oil until soft, about 3 minutes. Add beans, paprika and cumin. Mash beans to a smooth paste with a potato masher. Transfer mixture to a bowl and cool slightly. Stir in quinoa, cilantro, 3 T cornmeal, salt & pepper (and a dash of hot sauce if you'd like). Form mixture into 6 patties and coat with cornmeal. Refrigerate for 20 minutes. Heat 1 Tablespoon oil in a skillet over medium-high heat. Reduce heat to medium and cook 3 burgers at a time until brown and crisp on both sides, 2 to 4 minutes per side. 


You know, until they look like this:


The original recipe also includes a guacamole recipe, which I'm sure is lovely, but I just tossed on some avocado slices and mustard. Yum. Oh, and if you're a super good girl you would use a whole wheat bun. Whoops.